Make a peace pet

  • There’s nothing like a furry friend when you’re feeling down or worried. And the great thing about these little pets is that they fit in your pocket or OK Kit—and they’re completely potty trained!


  • STEP 1 OF 10

    Gather your supplies:

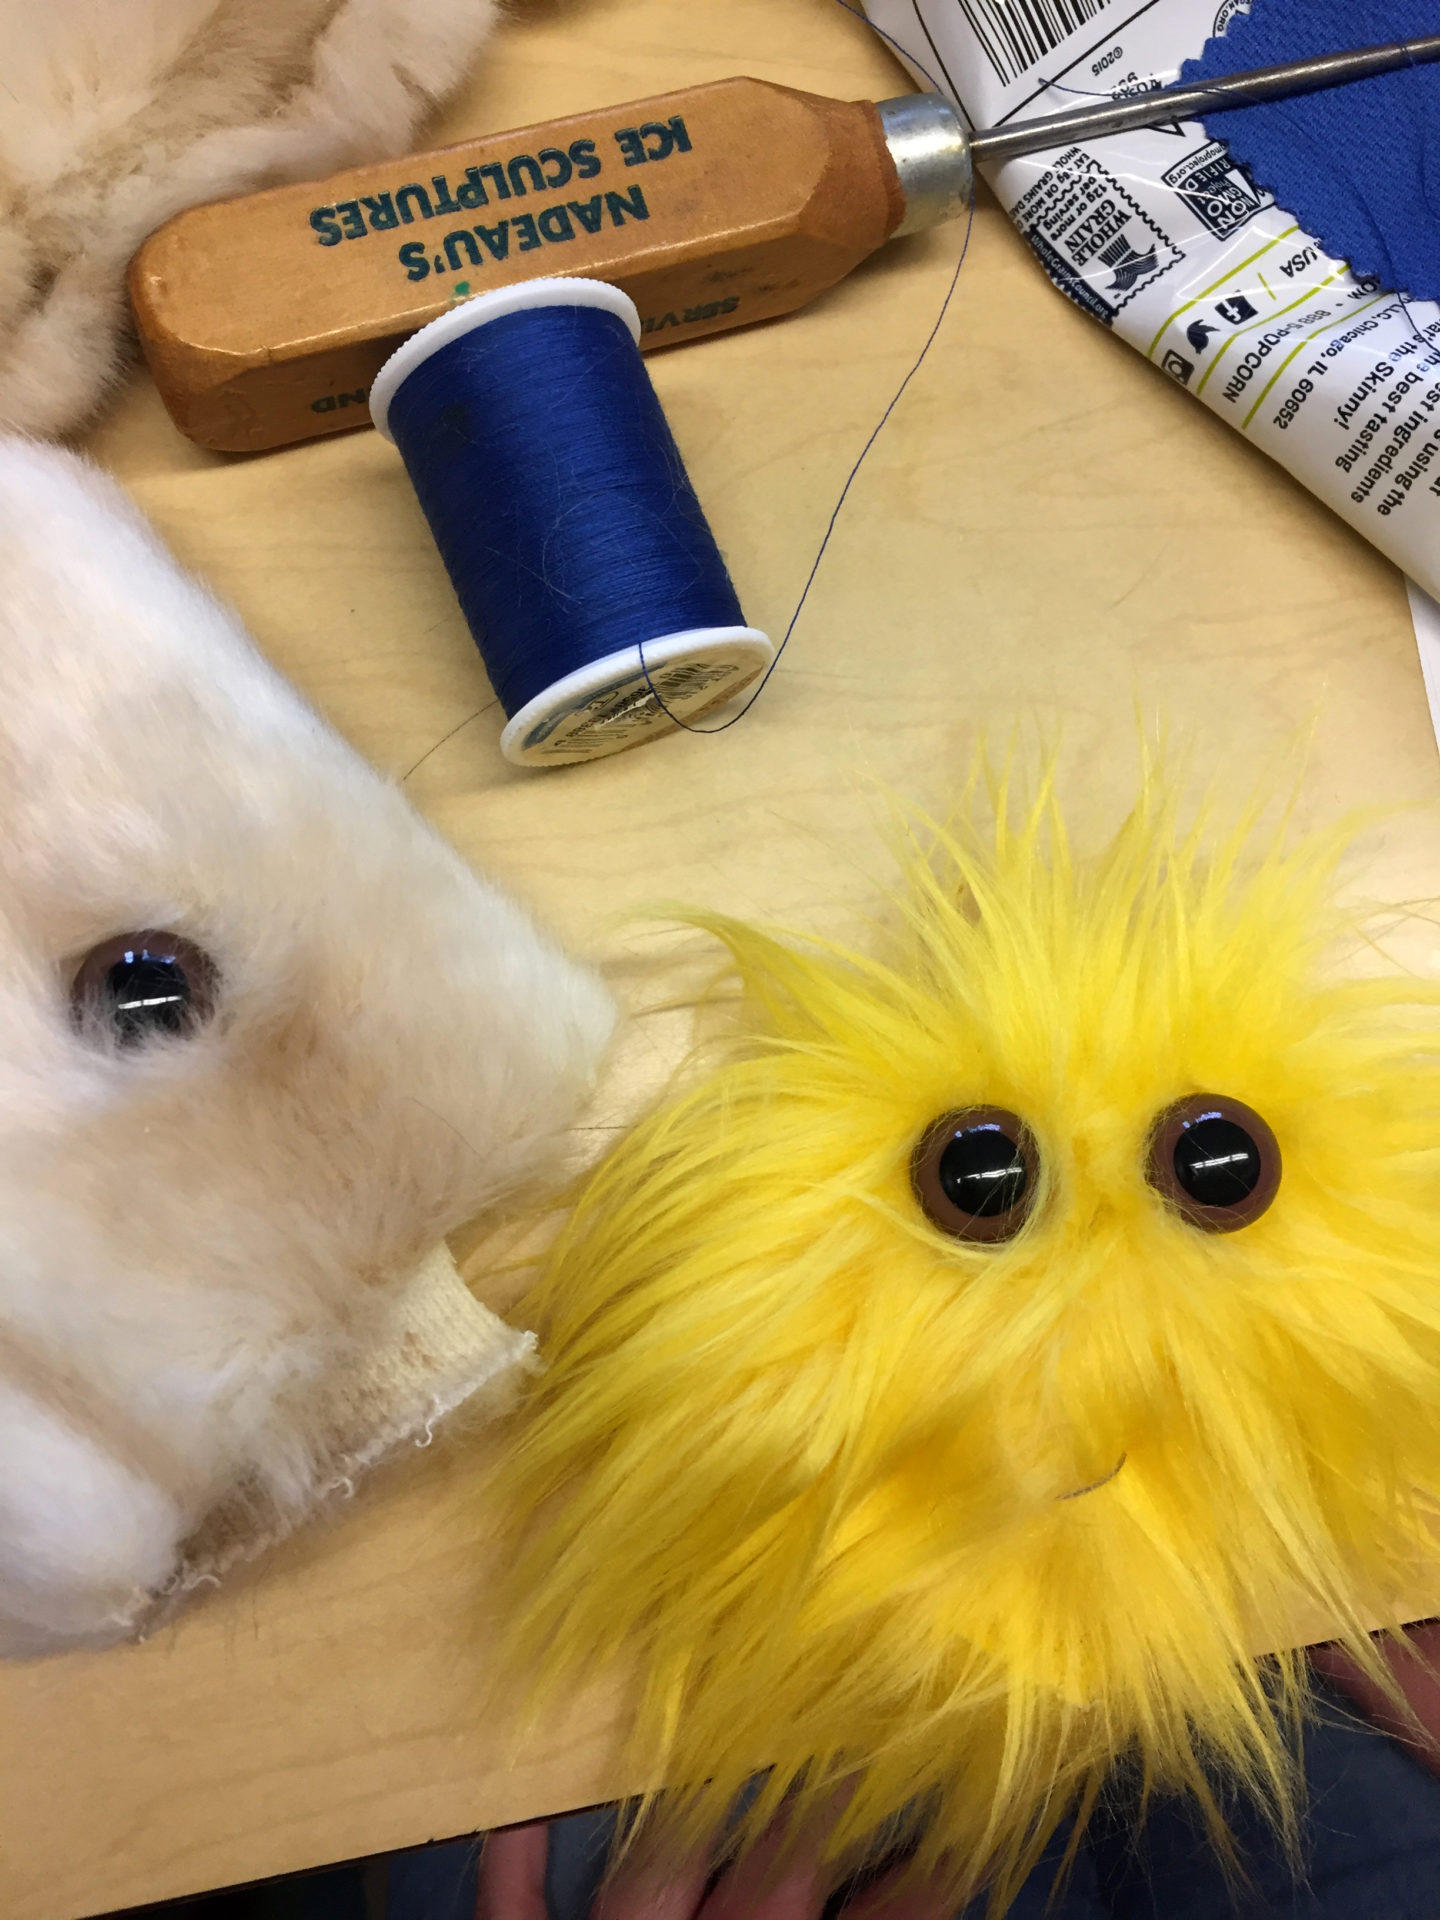
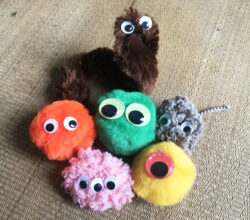
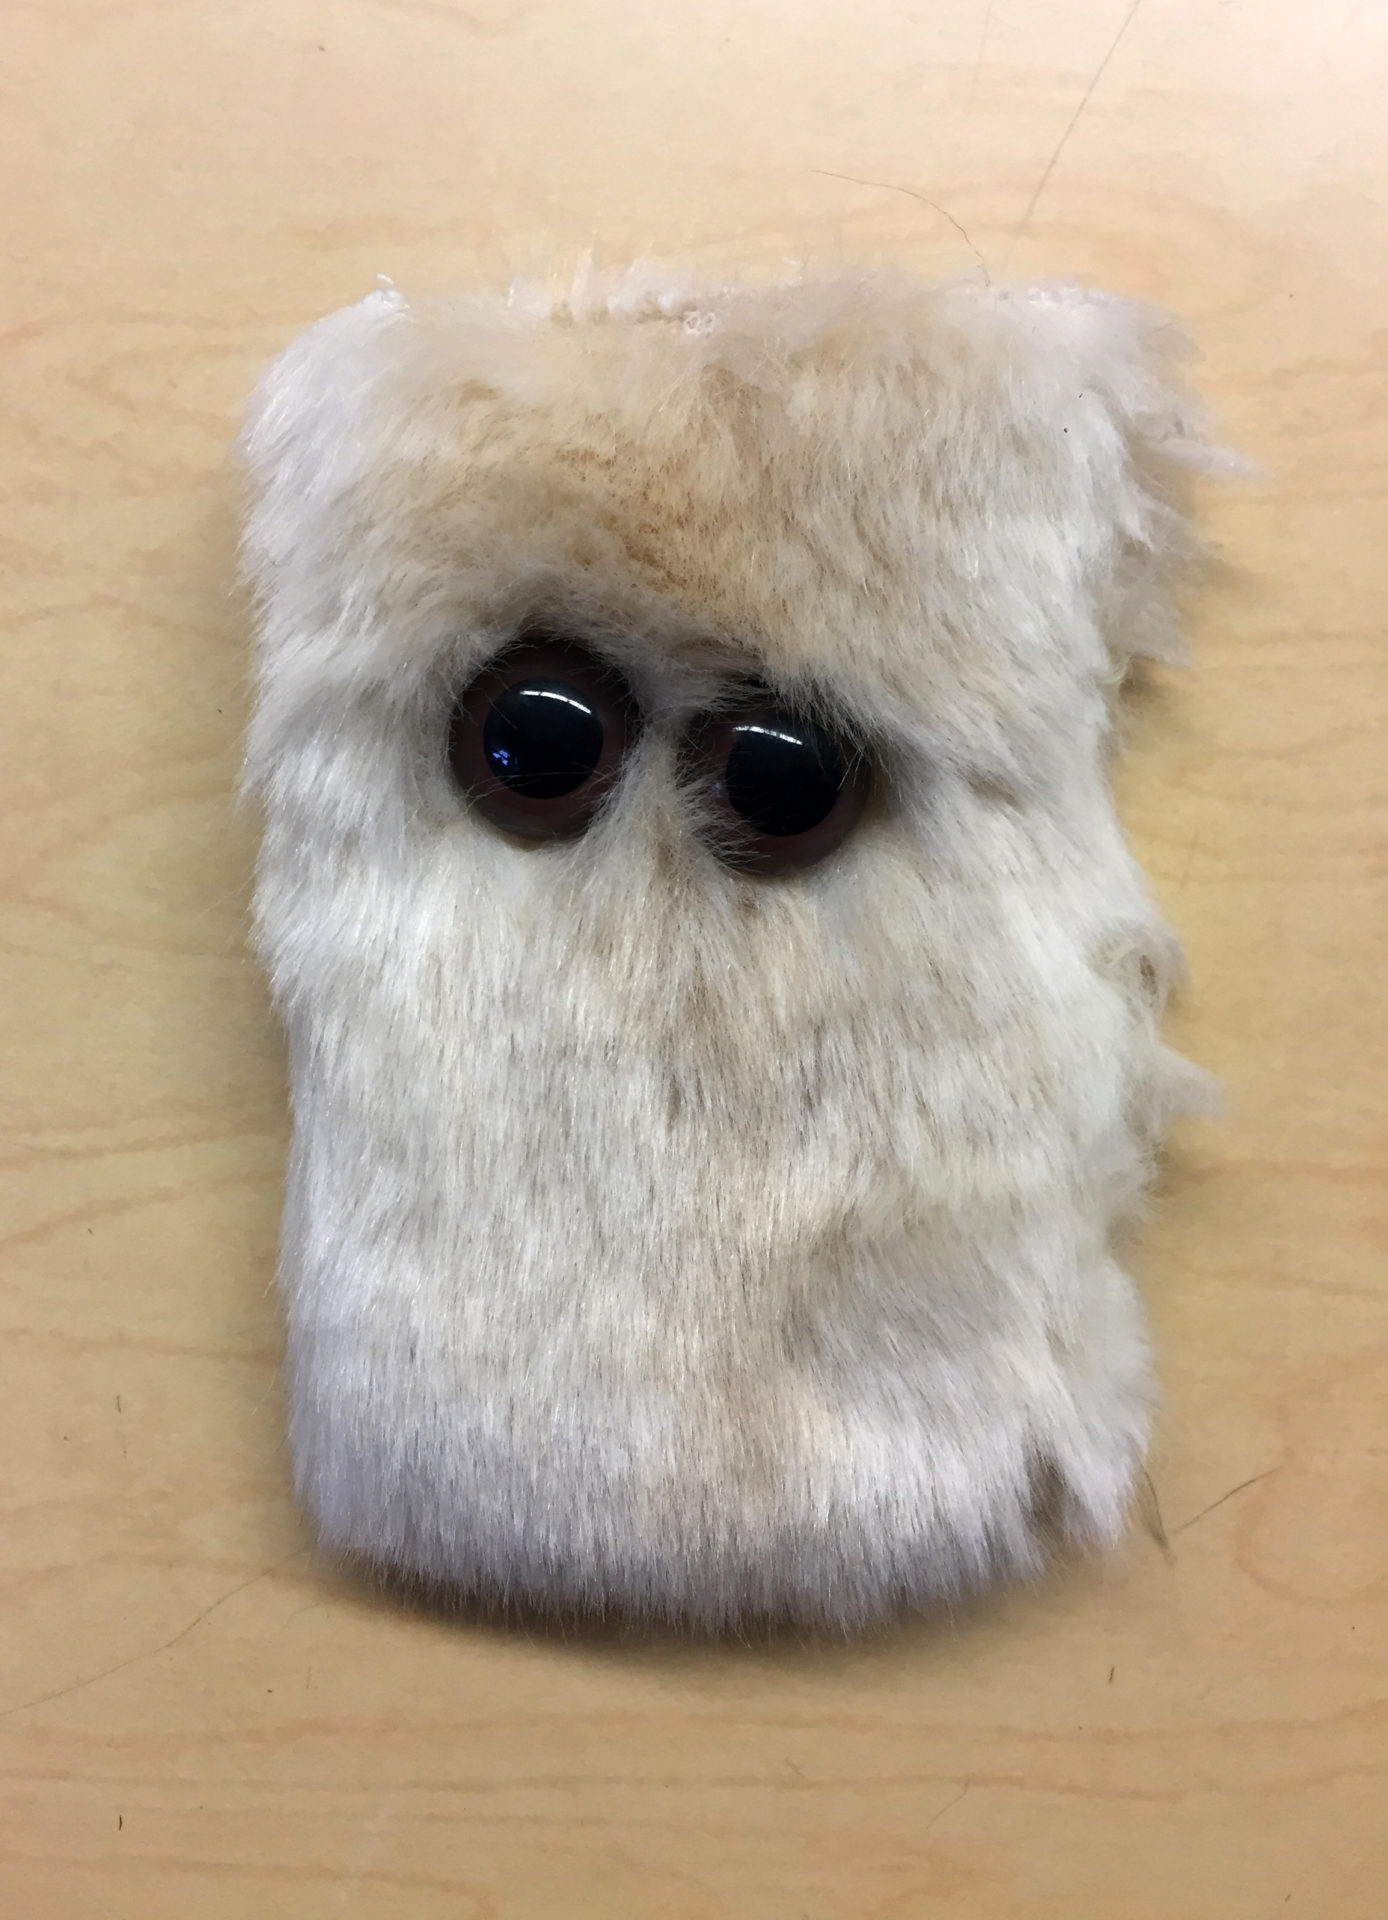
    1. Any kind of material like fake fur, an old sweater, a pair of socks… the thicker the better. If you’re making a mini pet for your OK Kit, you can use these same materials or a puff ball and (if you want) felt for feet

    2. Scissors that are mighty enough to cut through fur

    3. Glue

    4. (Optional) Needle and thread

    5. Googly eyes or stuffed animal eyes (you can find them at a fabric or craft store)

    6. (Optional) cotton balls or extra material for stuffing if you’re making a larger peace pet

  • STEP 2 OF 10

    If you’re making a puff ball pet, all you need is a puff ball, googly eyes, and if you want to add feet, some felt. We made our feet by cutting out a heart shape from our felt, but you can make your feet however you want.

    When you have the shape you like, just add a spot of glue to the center and press on your puff ball. Do the same for your google eyes and watch your mini pet magically come to life! You can now skip to step 8.

  • STEP 3 OF 10

    For a larger pet, decide how big you want your peace pet to be by folding your piece of fur, sock or other material in half.

    If you want your pet to be smaller, do a little trimming until you get it to a size you like.

  • STEP 4 OF 10

    Now, looking at your folded piece of material, decide where you want your pet’s eyes to be.

    If you’re using googly eyes like the eyes in the photo (for stuffed animal eyes, go to step 4), apply some glue, place your eyes on top and apply pressure. If you’re working with fur, you’ll need to push the fur aside so you can glue the eyes to the flat fabric under the fur.

    After gluing, set your pet aside to give the eyes plenty of time to dry. This can take awhile.


  • STEP 5 OF 10

    If you are using stuffed animal eyes like these, open your piece of fur back up and — very carefully — use your scissors to make very tiny holes in the places where you want your eyes to be. If you make the holes too big, your eyes could slip through. You can make your tiny holes by either opening your scissors up and (carefully) twisting the end of one of the blades into the fur, or you can pinch the fur together and make a tiny snip.

  • STEP 6 OF 10

    Now you’re ready to add your eyes.

    Just slip each eye through one of the holes and close it with the plastic backing.

  • STEP 7 OF 10

    All finished? Okay, let’s close up the sides.

    If you want to add a little stuffing first, you can put some cotton balls inside or extra materials if you have some, but your pet will be plenty furry and lovable without stuffing too.

    To close the sides, run a line of glue along the edges and press firmly, then wait for it to dry. Or you can sew the sides shut with a needle and thread.

    If you’re using fabric, first turn your fabric inside out so your stitches won’t show. If you’re using fur, no need to turn it inside out — the fur will hide the stitches.

  • STEP 8 OF 10

    Now all you need is a name!

    And of course we’d love to meet your new pet. First though, here’s a little idea for you to try…

  • STEP 9 OF 10

    Next time you’re feeling worried, try whispering your worry to your peace pet. Then try your best not to think about your worry for a while.

    This will give you a nice break from worrying — and maybe, you never know, your pet will magically make your worry go away. Pets have been known to do that.

  • STEP 10 OF 10

    Ready to introduce your pet to us? Oh good! We love animals.