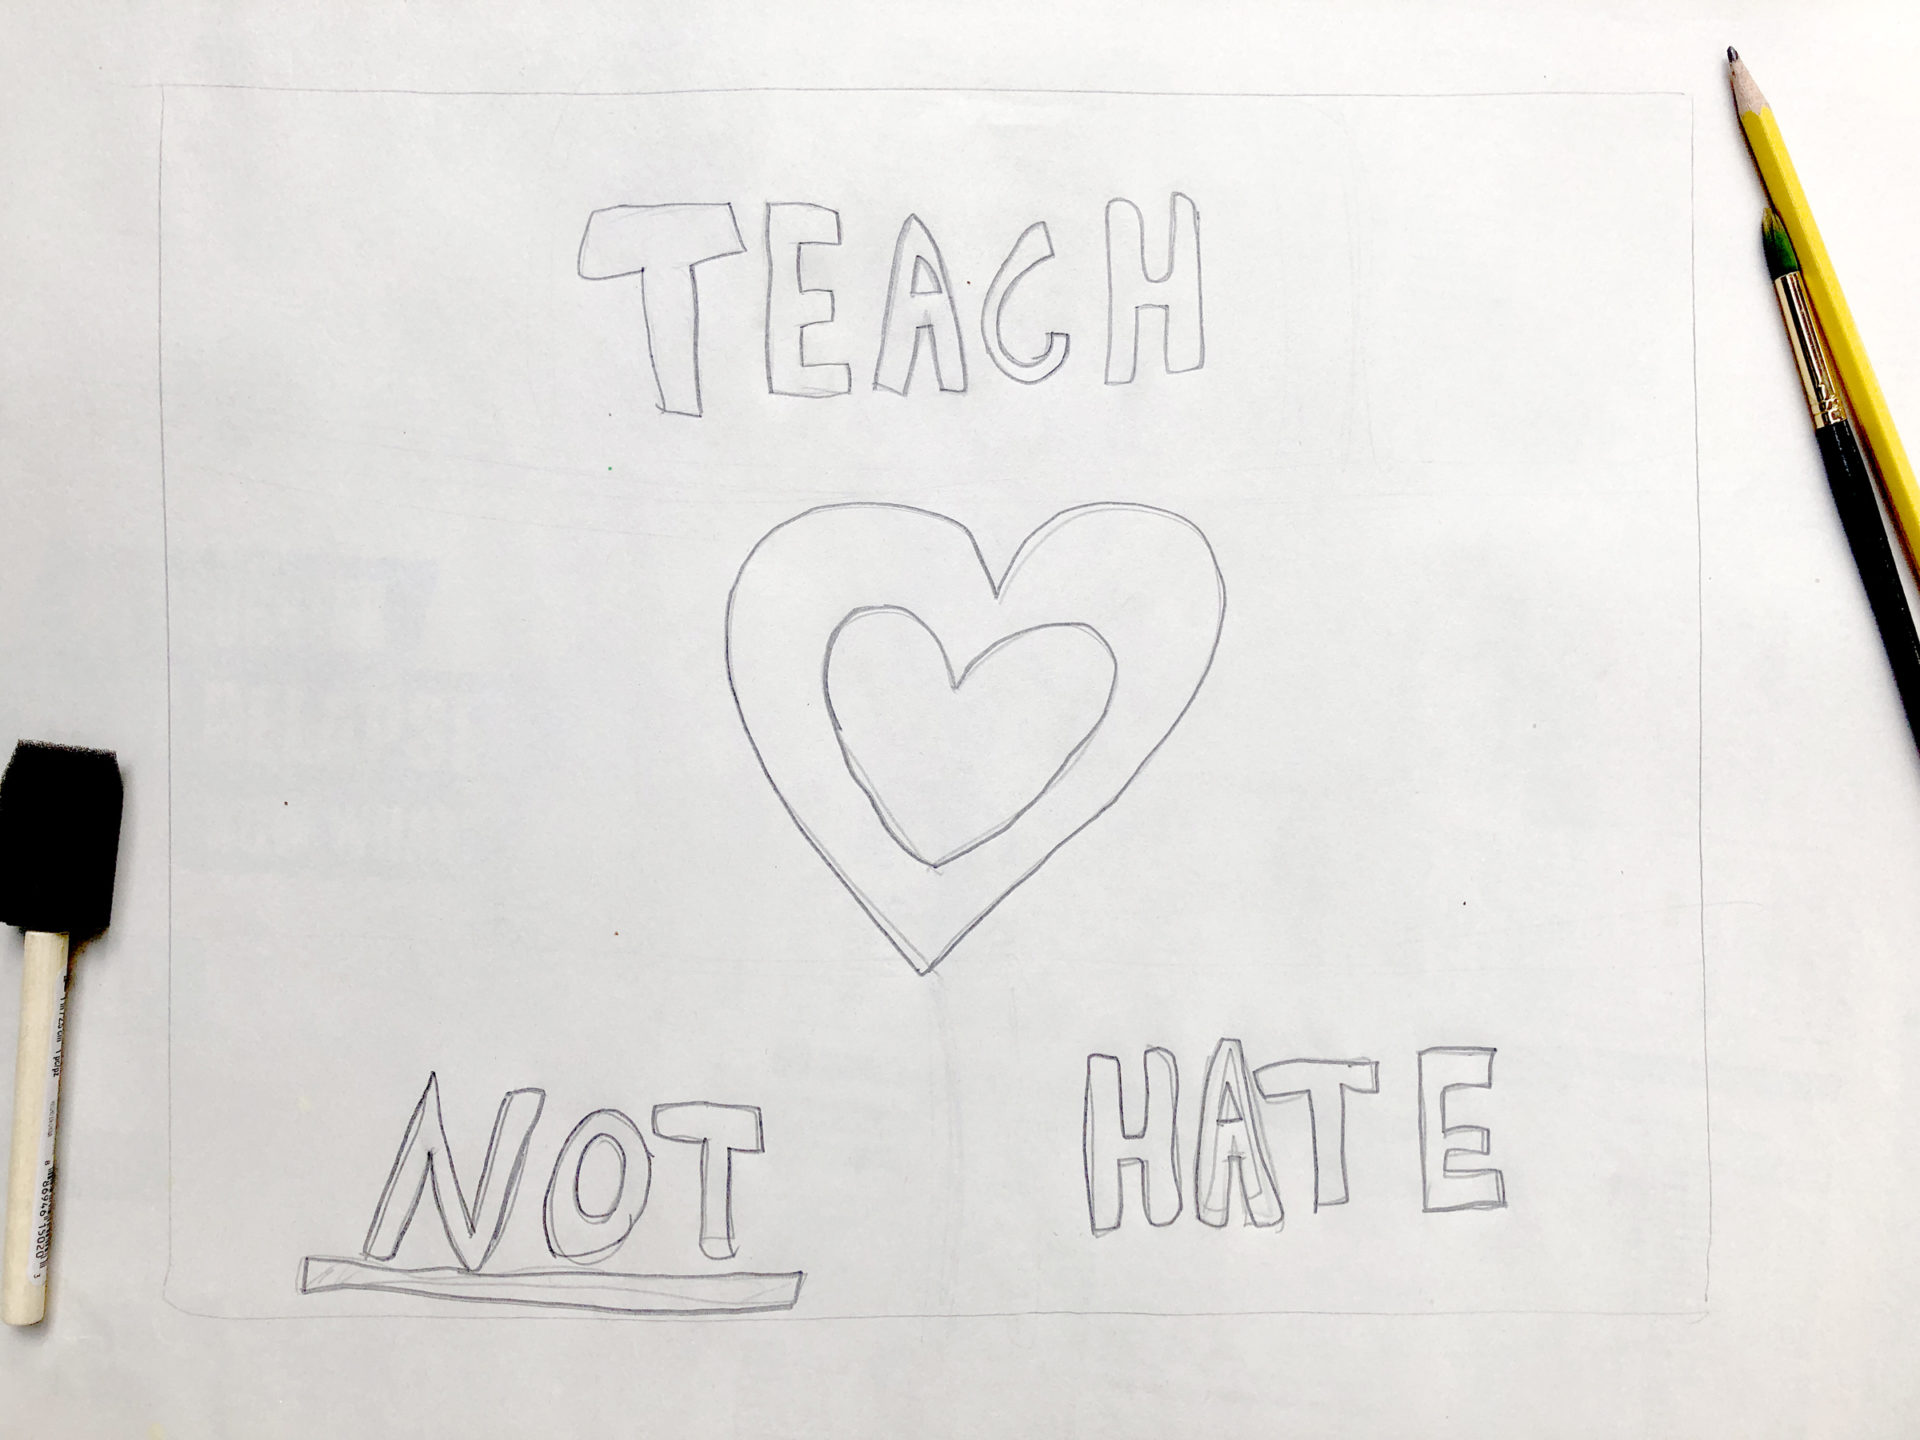
Raise your voice

  • When you feel strongly about something happening in the world, like racial injustice or climate change, that’s a good time to let your feelings — and your voice — out.

    One very powerful and creative way to share your voice is by making signs. In this project, artist Kelsey Snook will walk you through some steps for making a sign to express something you care about.


  • STEP 1 OF 9

    First you’ll need to gather your supplies:

    1. Cardboard or some other kind of sturdy surface you can draw or paint on. Maybe you can reuse something from the recycling bin—or even recycle an old sign. If you plan to leave your sign outside, you’ll want your surface to be waterproof.

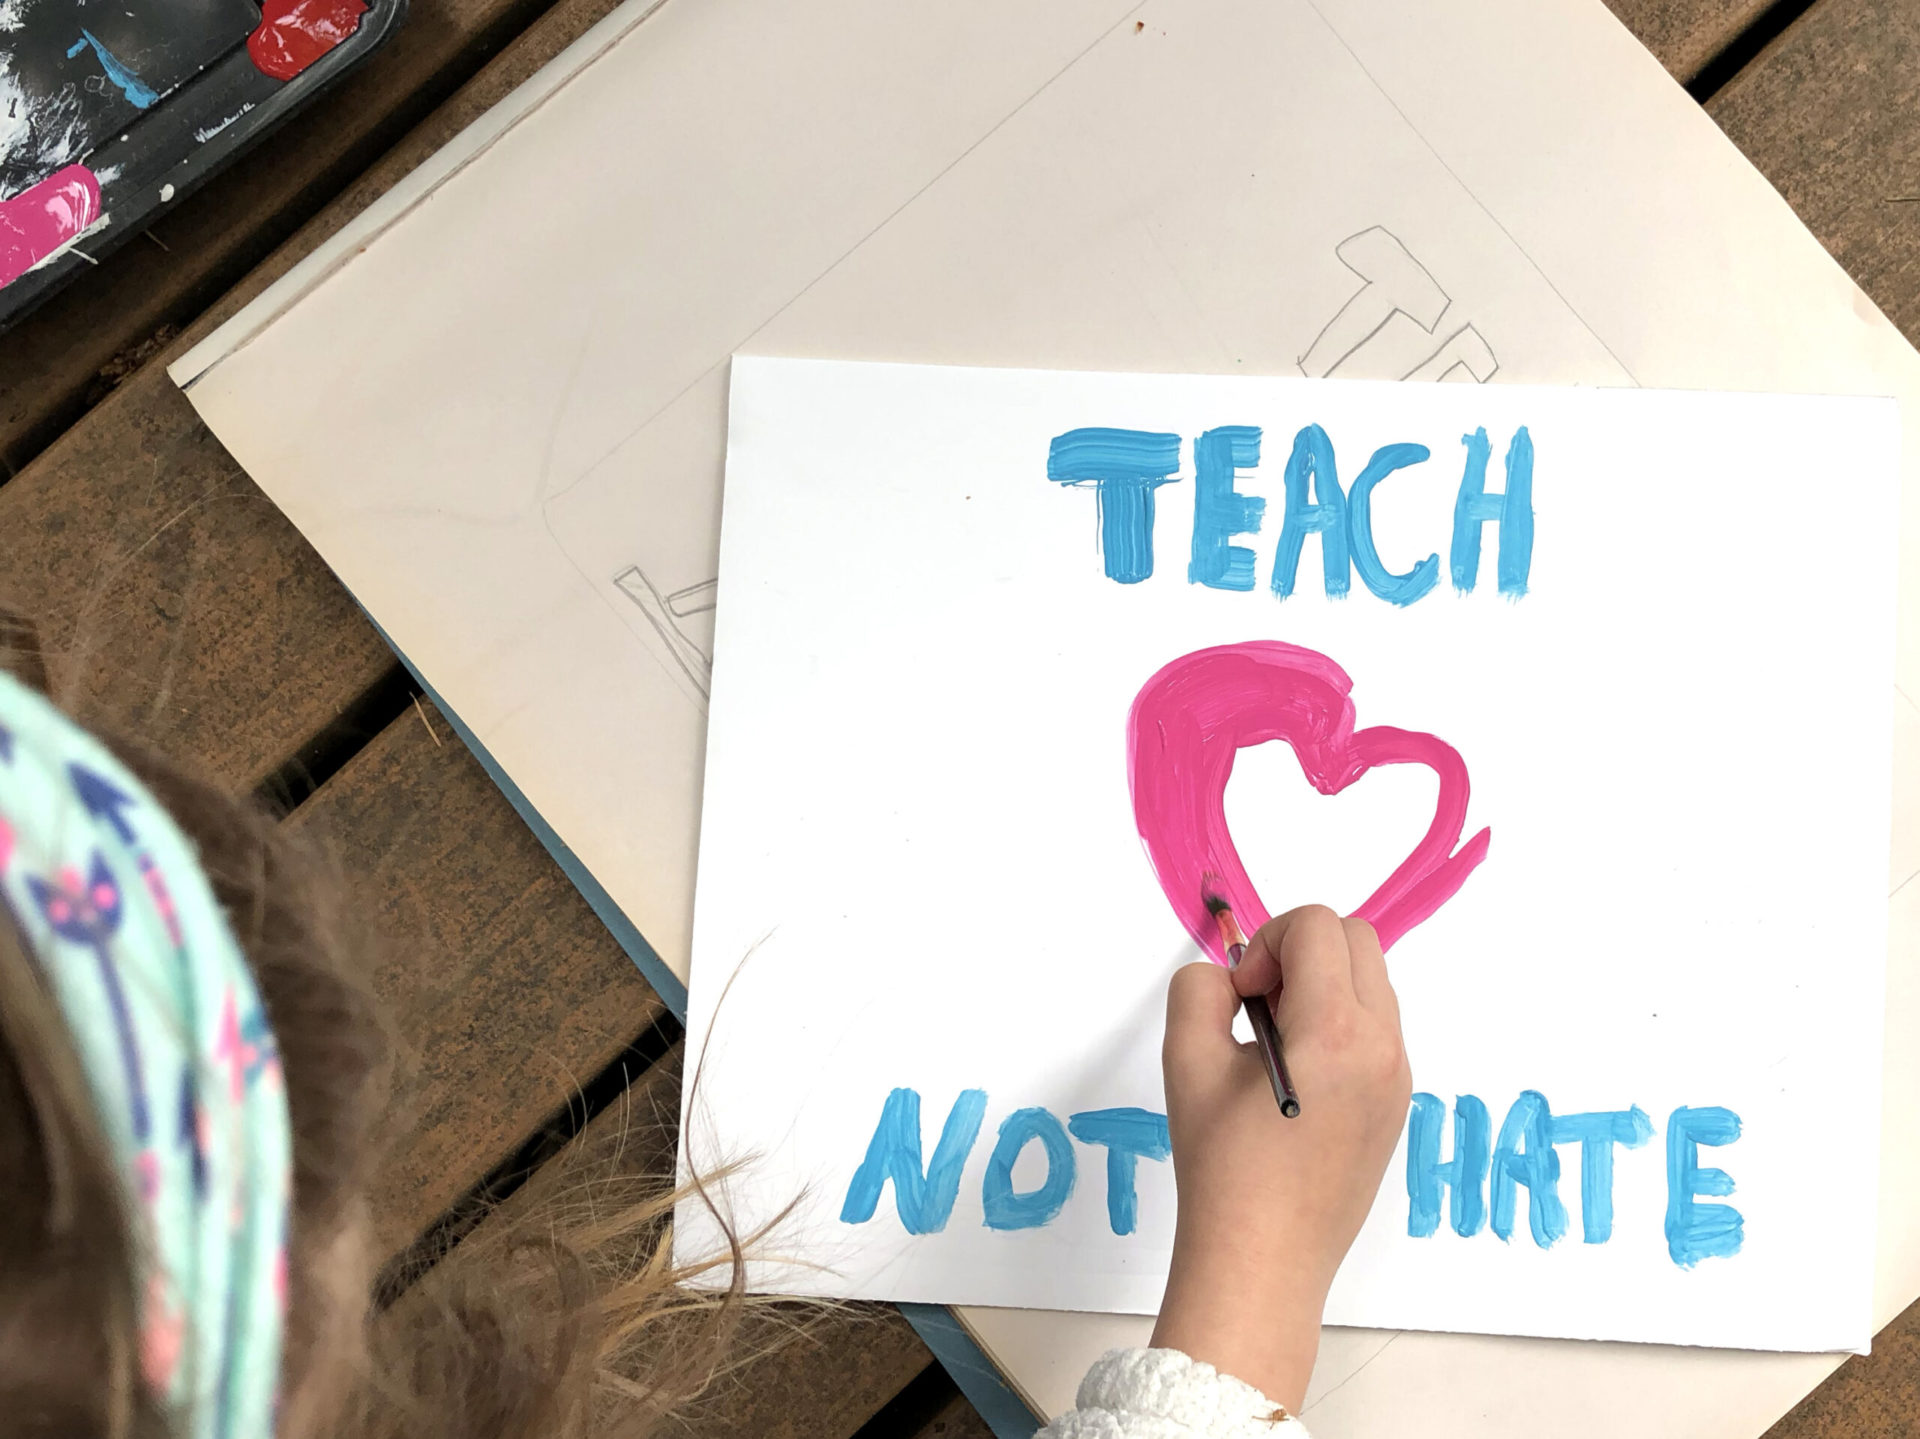
    2. Markers or paint (waterproof markers or acrylic paint if your sign is going to be outside).

    3. Paint brushes if you’ll be painting.

    4. A pencil and extra paper for sketching your ideas.


  • STEP 2 OF 9

    Before you start, here’s a short video that Kelsey created to show you all the steps.


  • STEP 3 OF 9

    Ready to create your own sign?

    Before starting, it can be helpful to look around at signs other people have made, like the ones below. Which ones do you like? What do you like about them? Are there ones that capture how you feel?

  • STEP 4 OF 9

    Now it’s your turn. On a piece of paper, write down some ideas of your own. Keep writing until you come to the words that feel right and true to you.

    You’ll know when you come up with the right words because they’ll feel just like something you’d say in person to someone else.


  • STEP 5 OF 9

    When you have an idea or two you like, it’s time to do some sketching. Most of the time, our first idea isn’t the best one, so keep sketching until you have something you feel good about. It’s helpful to try out many ideas so you can see what works best.

    It’s okay if it takes a while. Most artists spend a lot of time thinking and experimenting.


  • STEP 6 OF 9

    Pick one of your sketches and let’s go ahead and make it bigger. If you have a big sheet of paper, you can trace the outline of your sign onto the paper so you can try out versions at the right size. You can also just sketch directly onto your sign board.

    Use a pencil to sketch, erase, mess up, whatever. Don’t worry about being perfect here, you’ll paint or draw over it anyway.

    This is important though: plan out your words to make sure they fit into the shape of your sign. If you plan to use paint, remember to leave enough space to write with a brush, which is a lot thicker than pencil : )


  • STEP 7 OF 9

    And now for the big moment! It’s time to add your color.

    If you make a mistake, or you aren’t crazy about the color you picked, that’s okay! Just wait for it to dry then add a different layer on top.


  • STEP 8 OF 9

    Once your sign is dry, you’re ready to use it! It can go in your window, or outside your house or apartment. You can hang it on a telephone pole or attach it to a stick and put it in the ground. Or you wave it proudly at an event or march!

    Your sign can make a big difference to let others know that someone in the community is a supportive voice. Thank you for putting in the effort to make a message that comes especially from you.


  • STEP 9 OF 9

    Is your sign on display? Have you held it up at an event? We’d love to see your pictures!

    It always helps for others to see your creative ideas, and by adding your sign to our gallery, you’ll be spreading your message to even more people. Just click below to add your photo.