Draw A Maze To Find Your Way

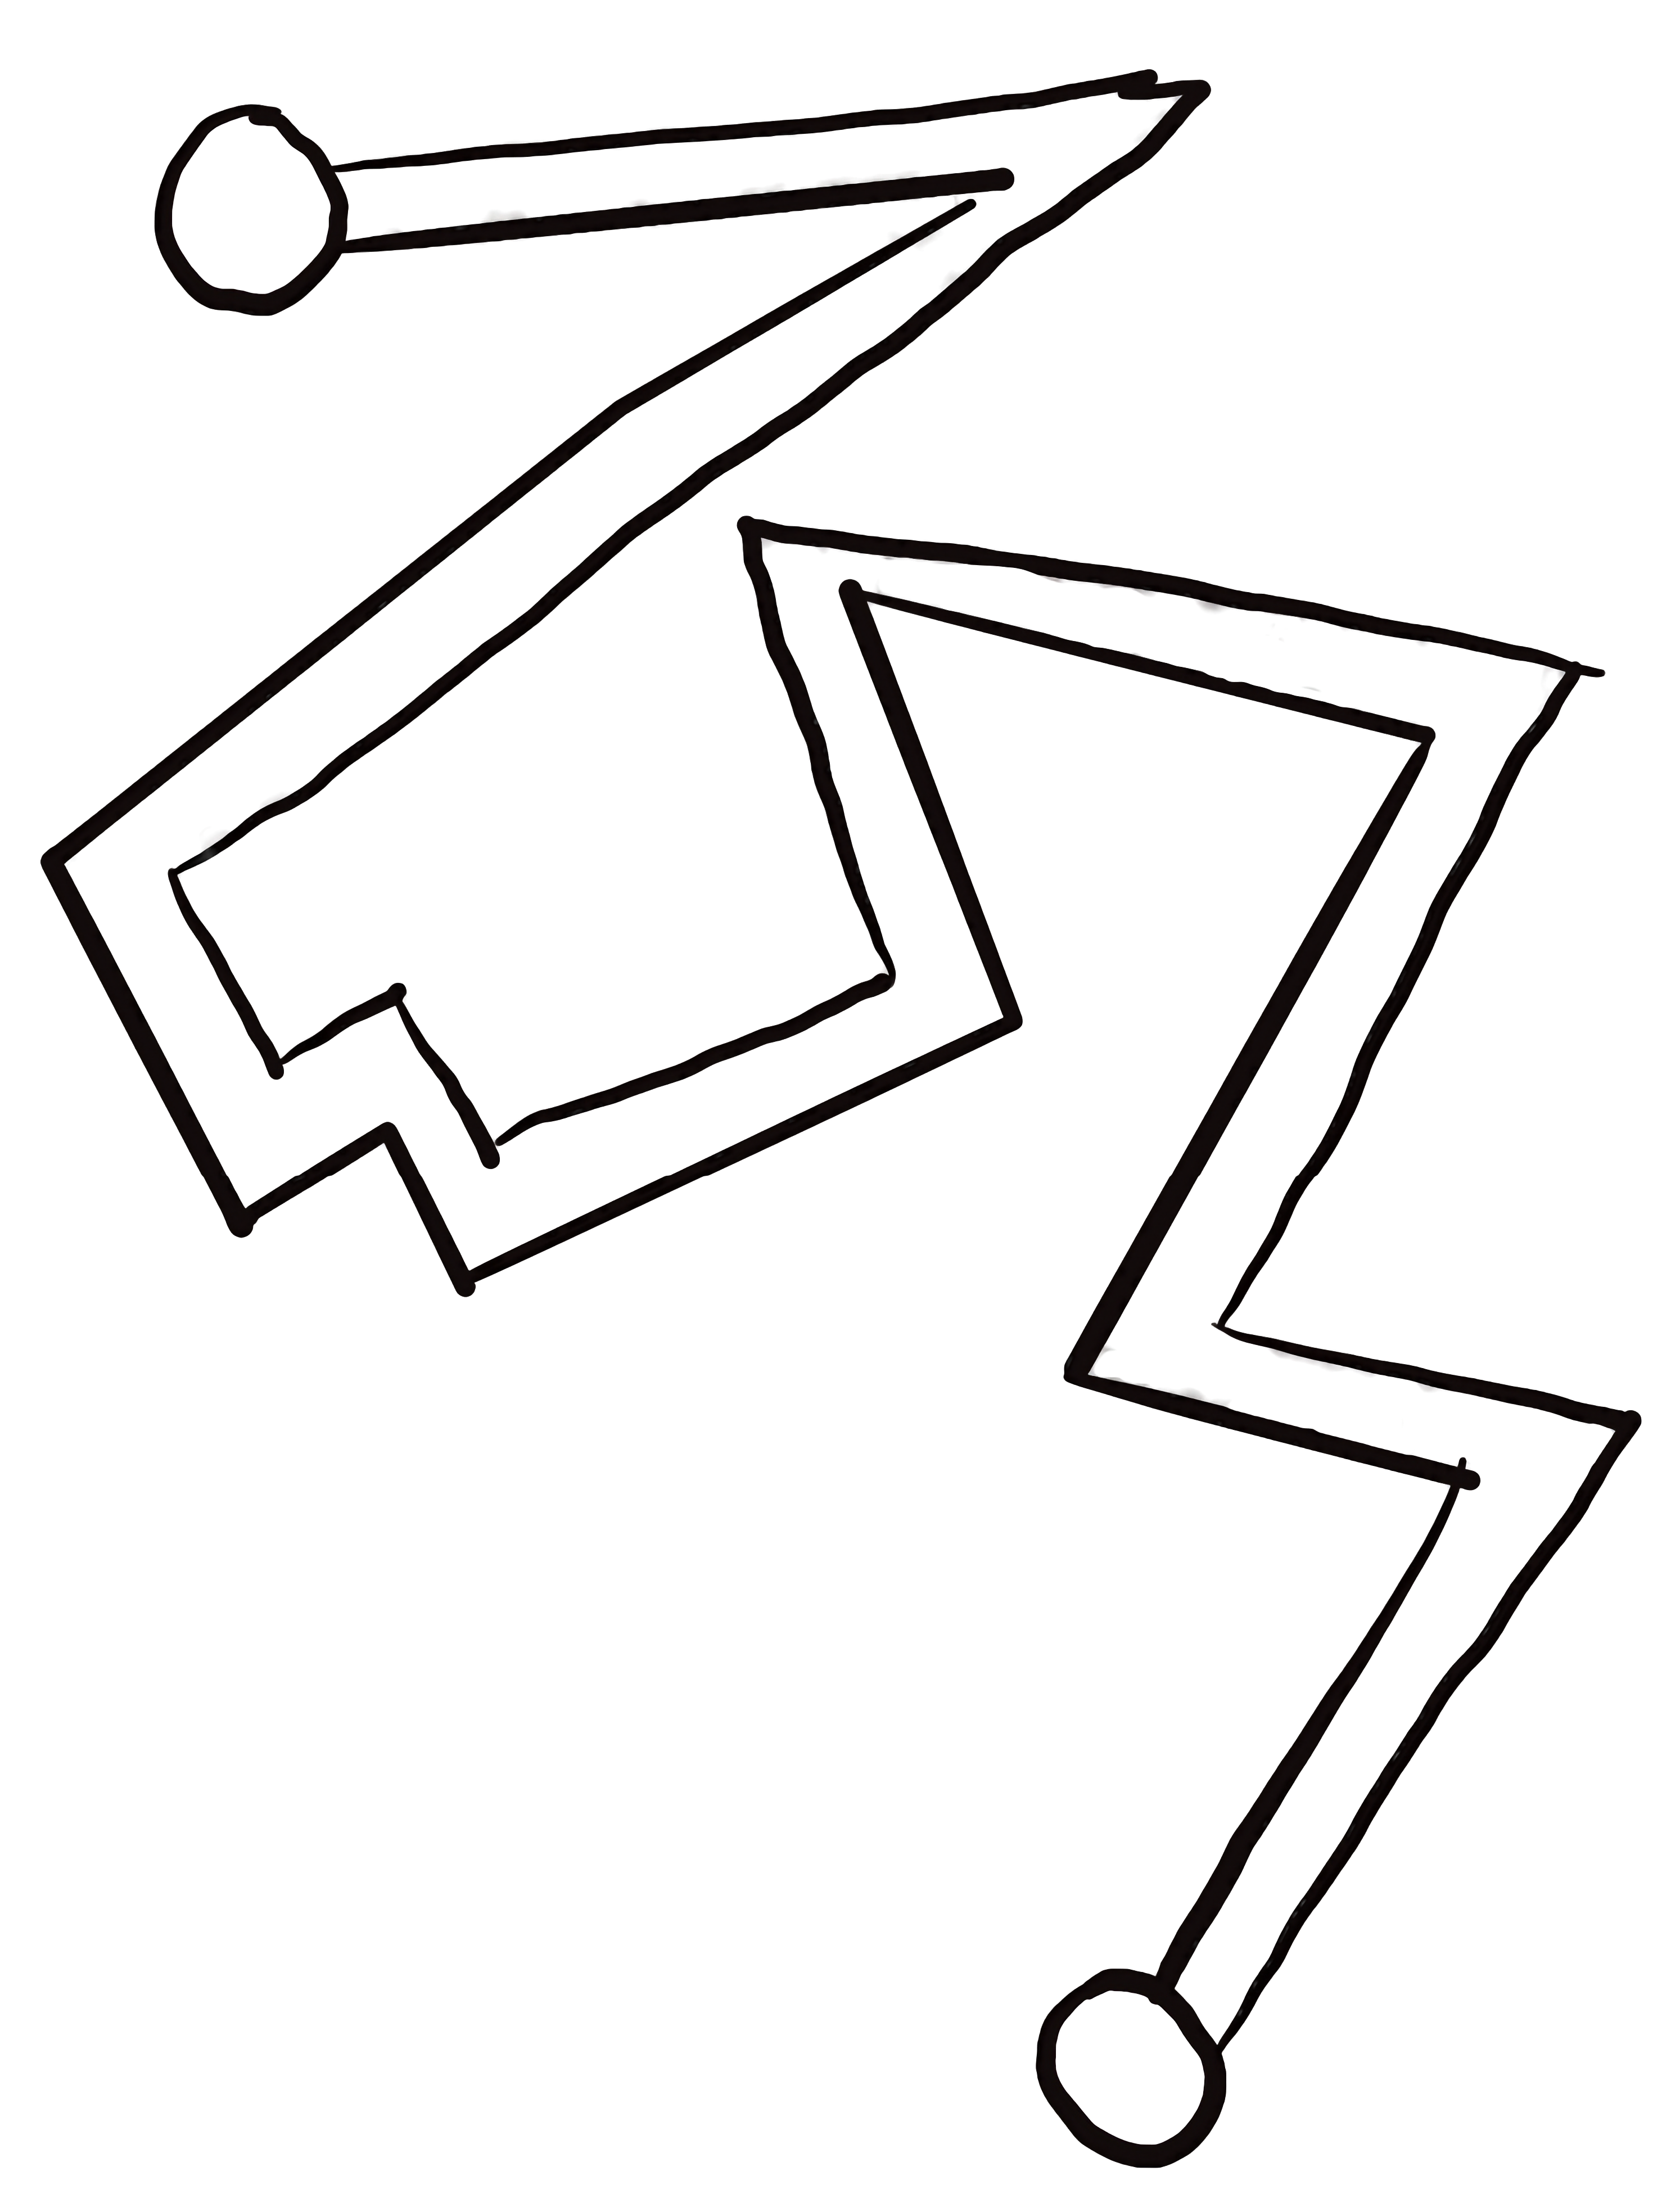
  • Do you ever feel like things are blocking your path and there’s no clear way out?

    Everyone has felt this way at some point.
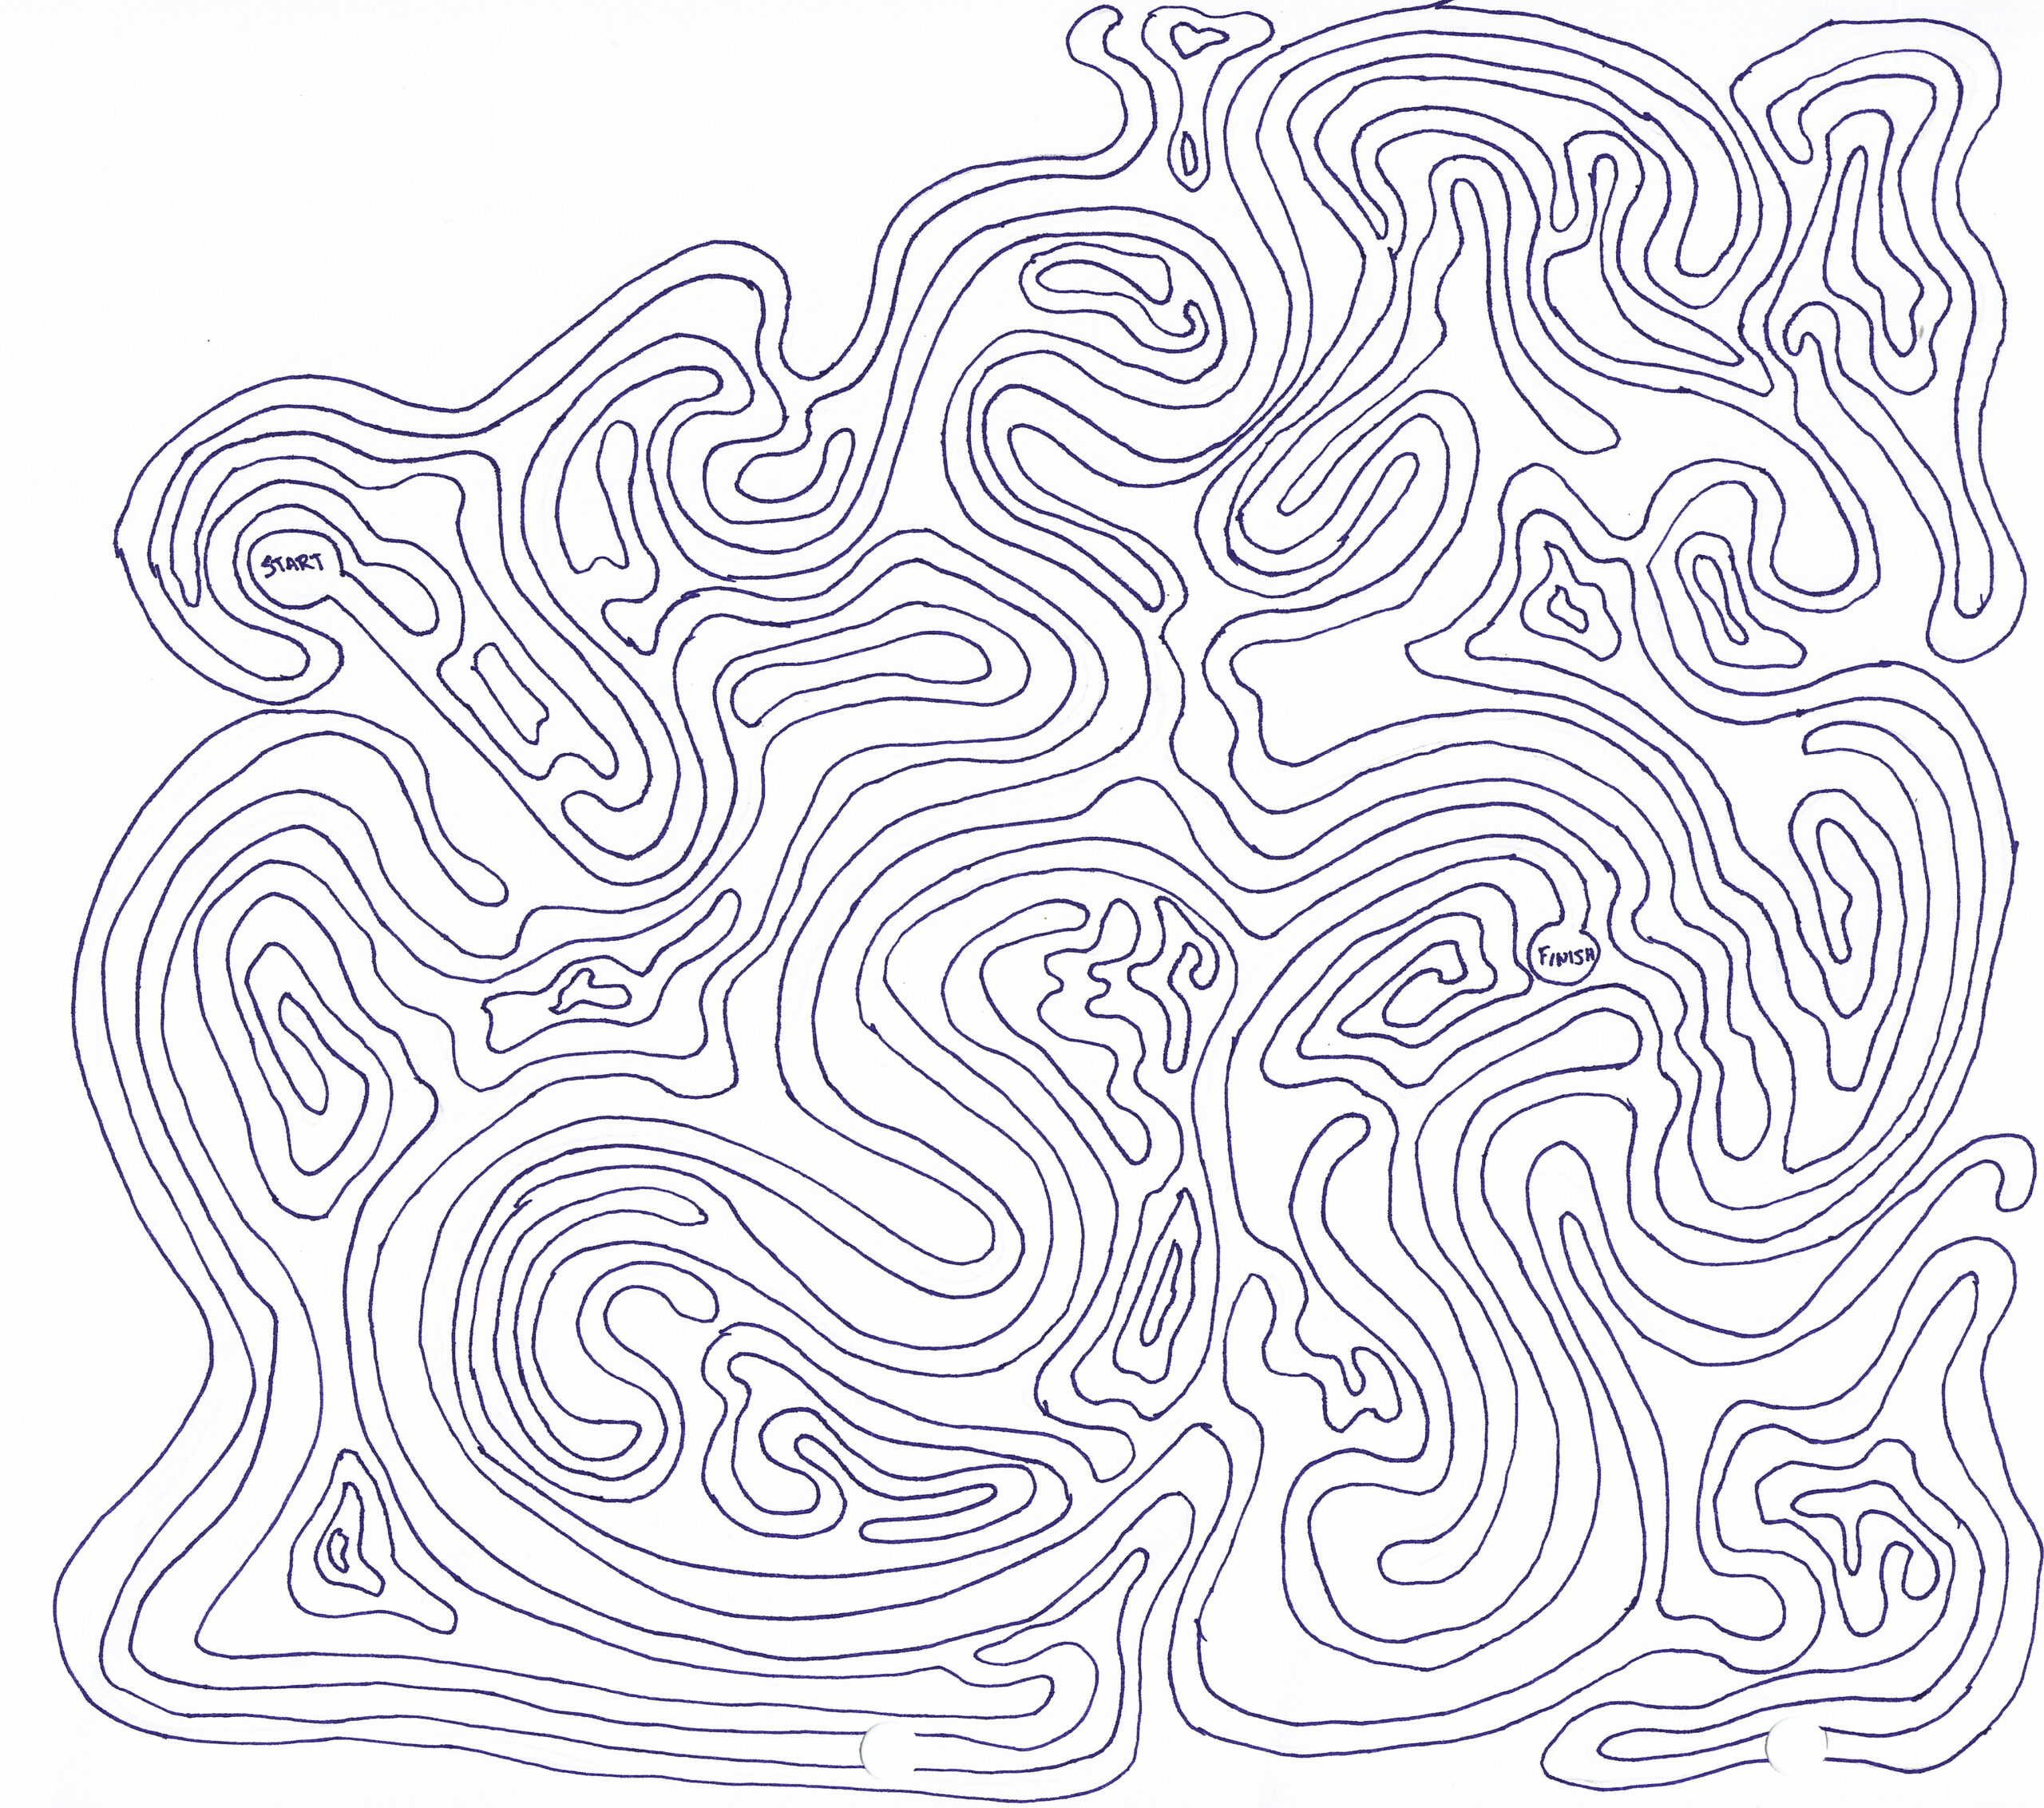
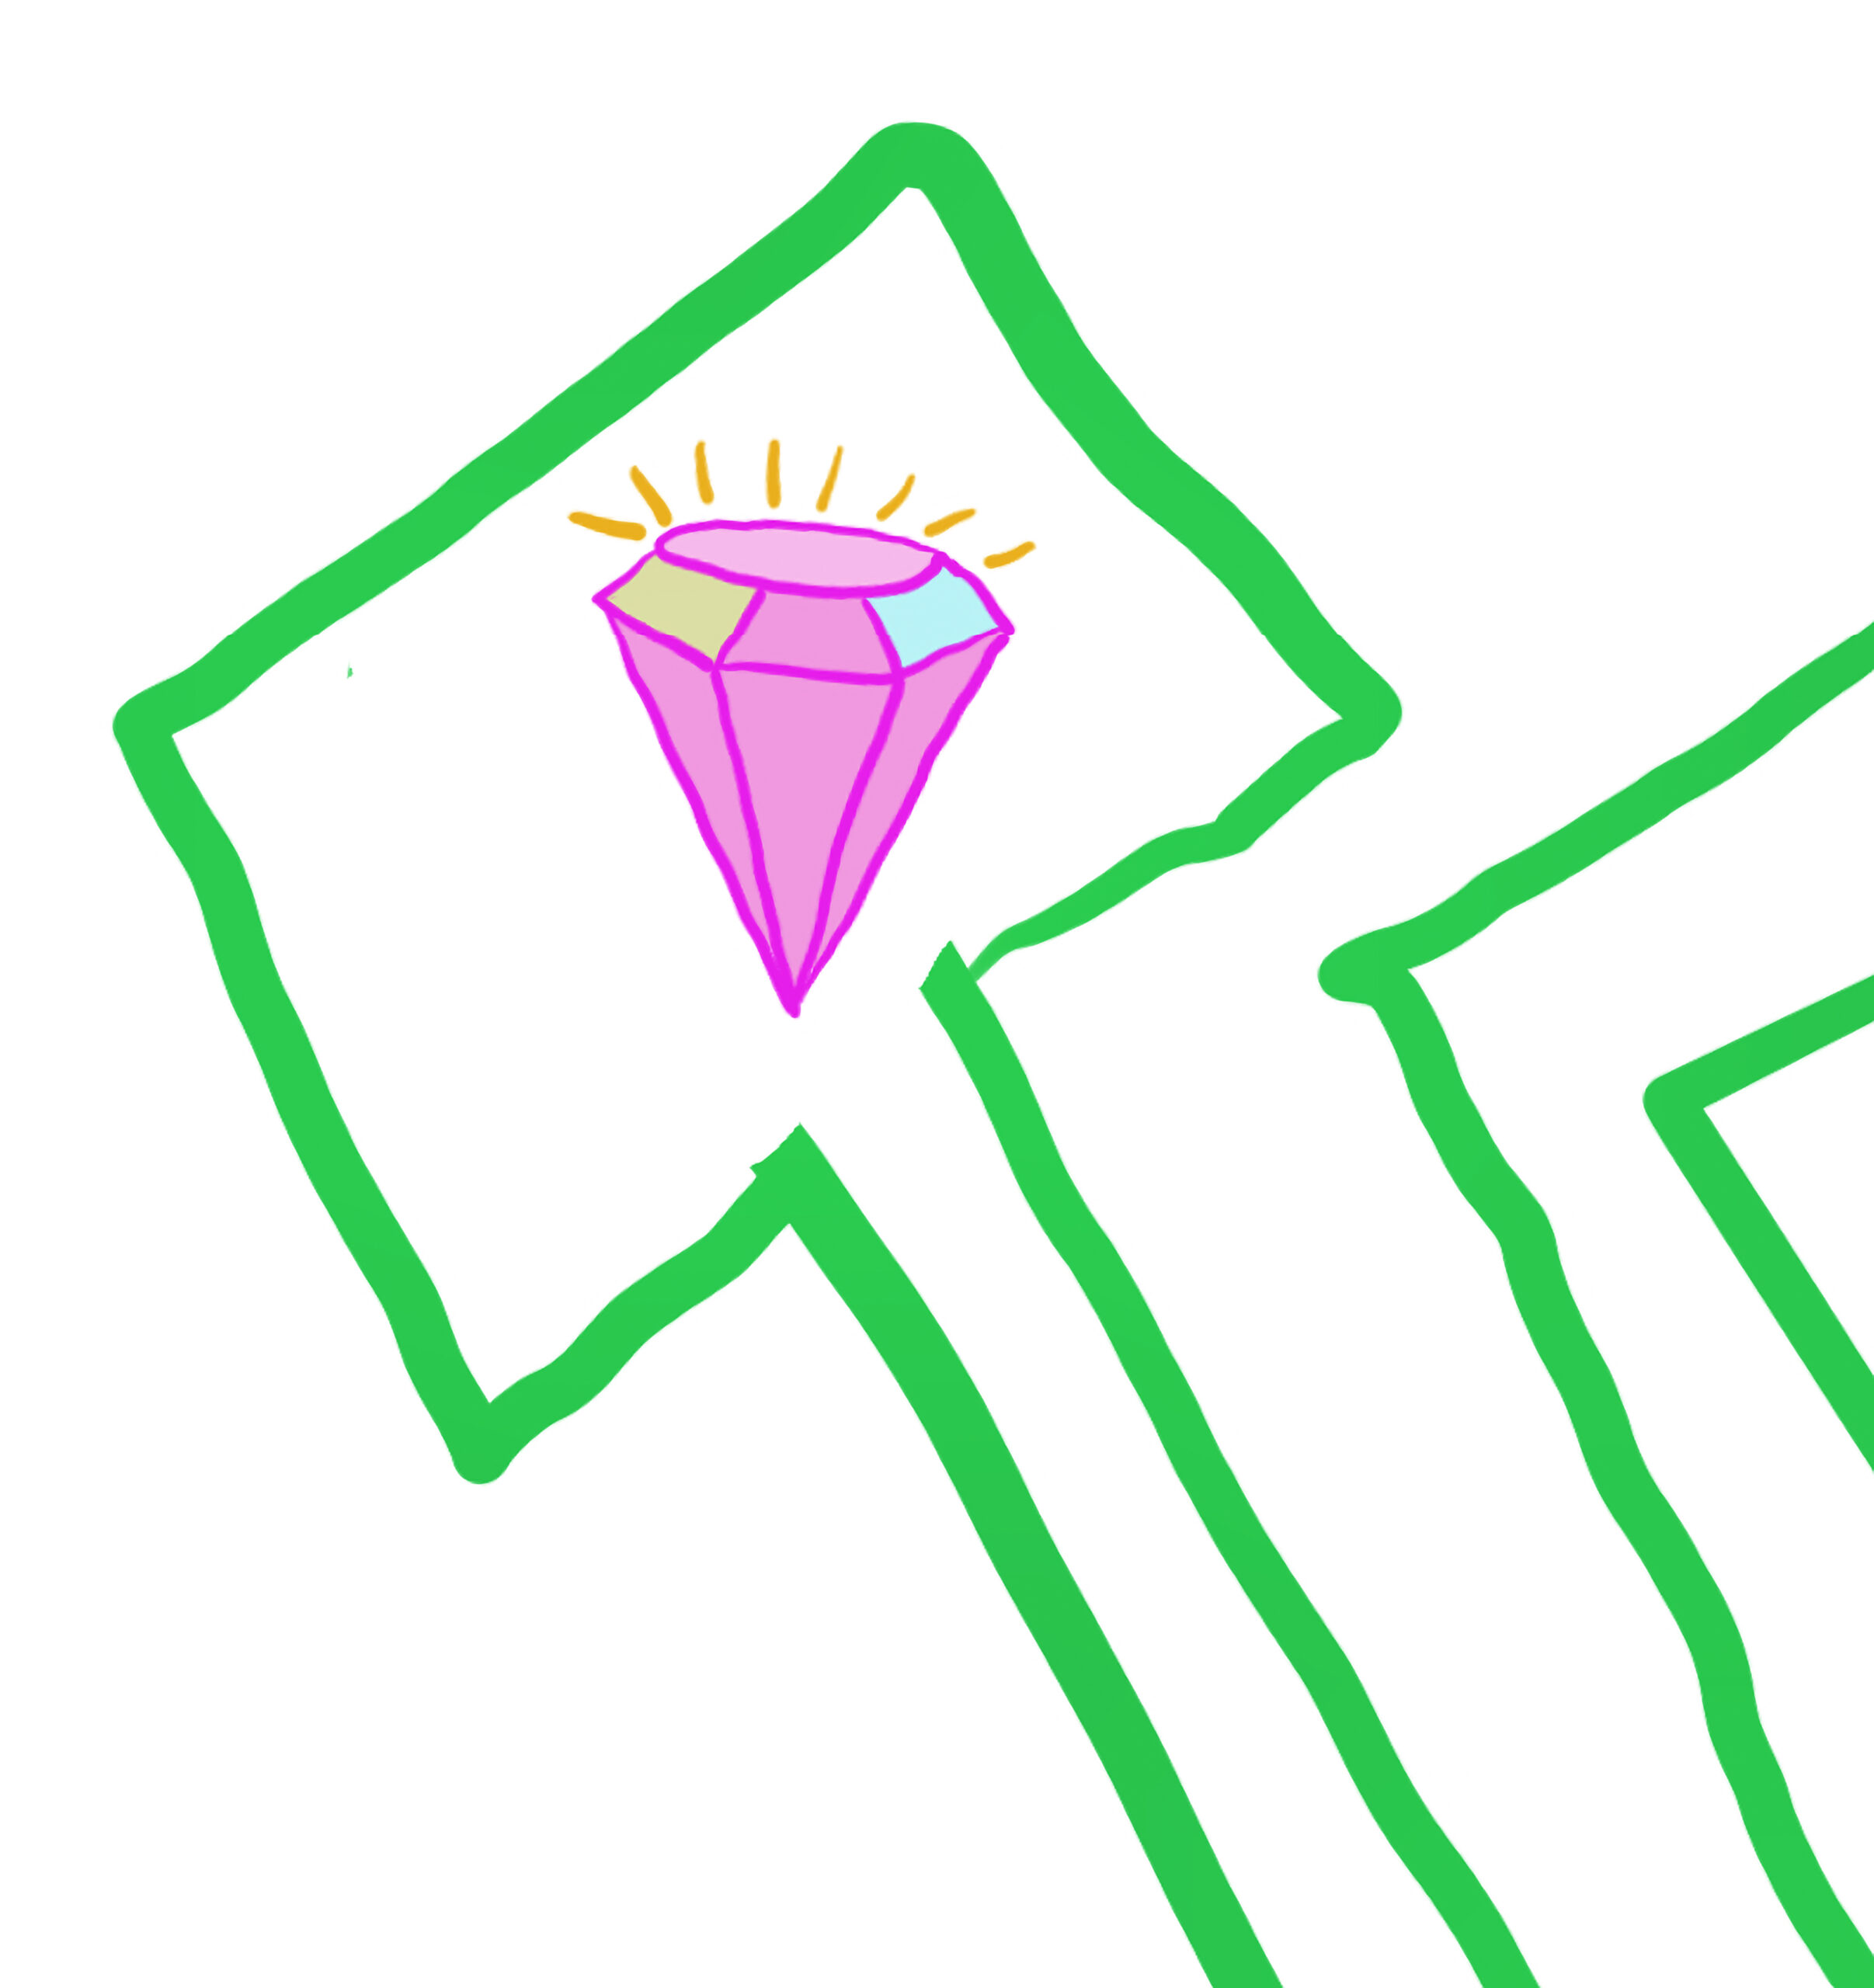
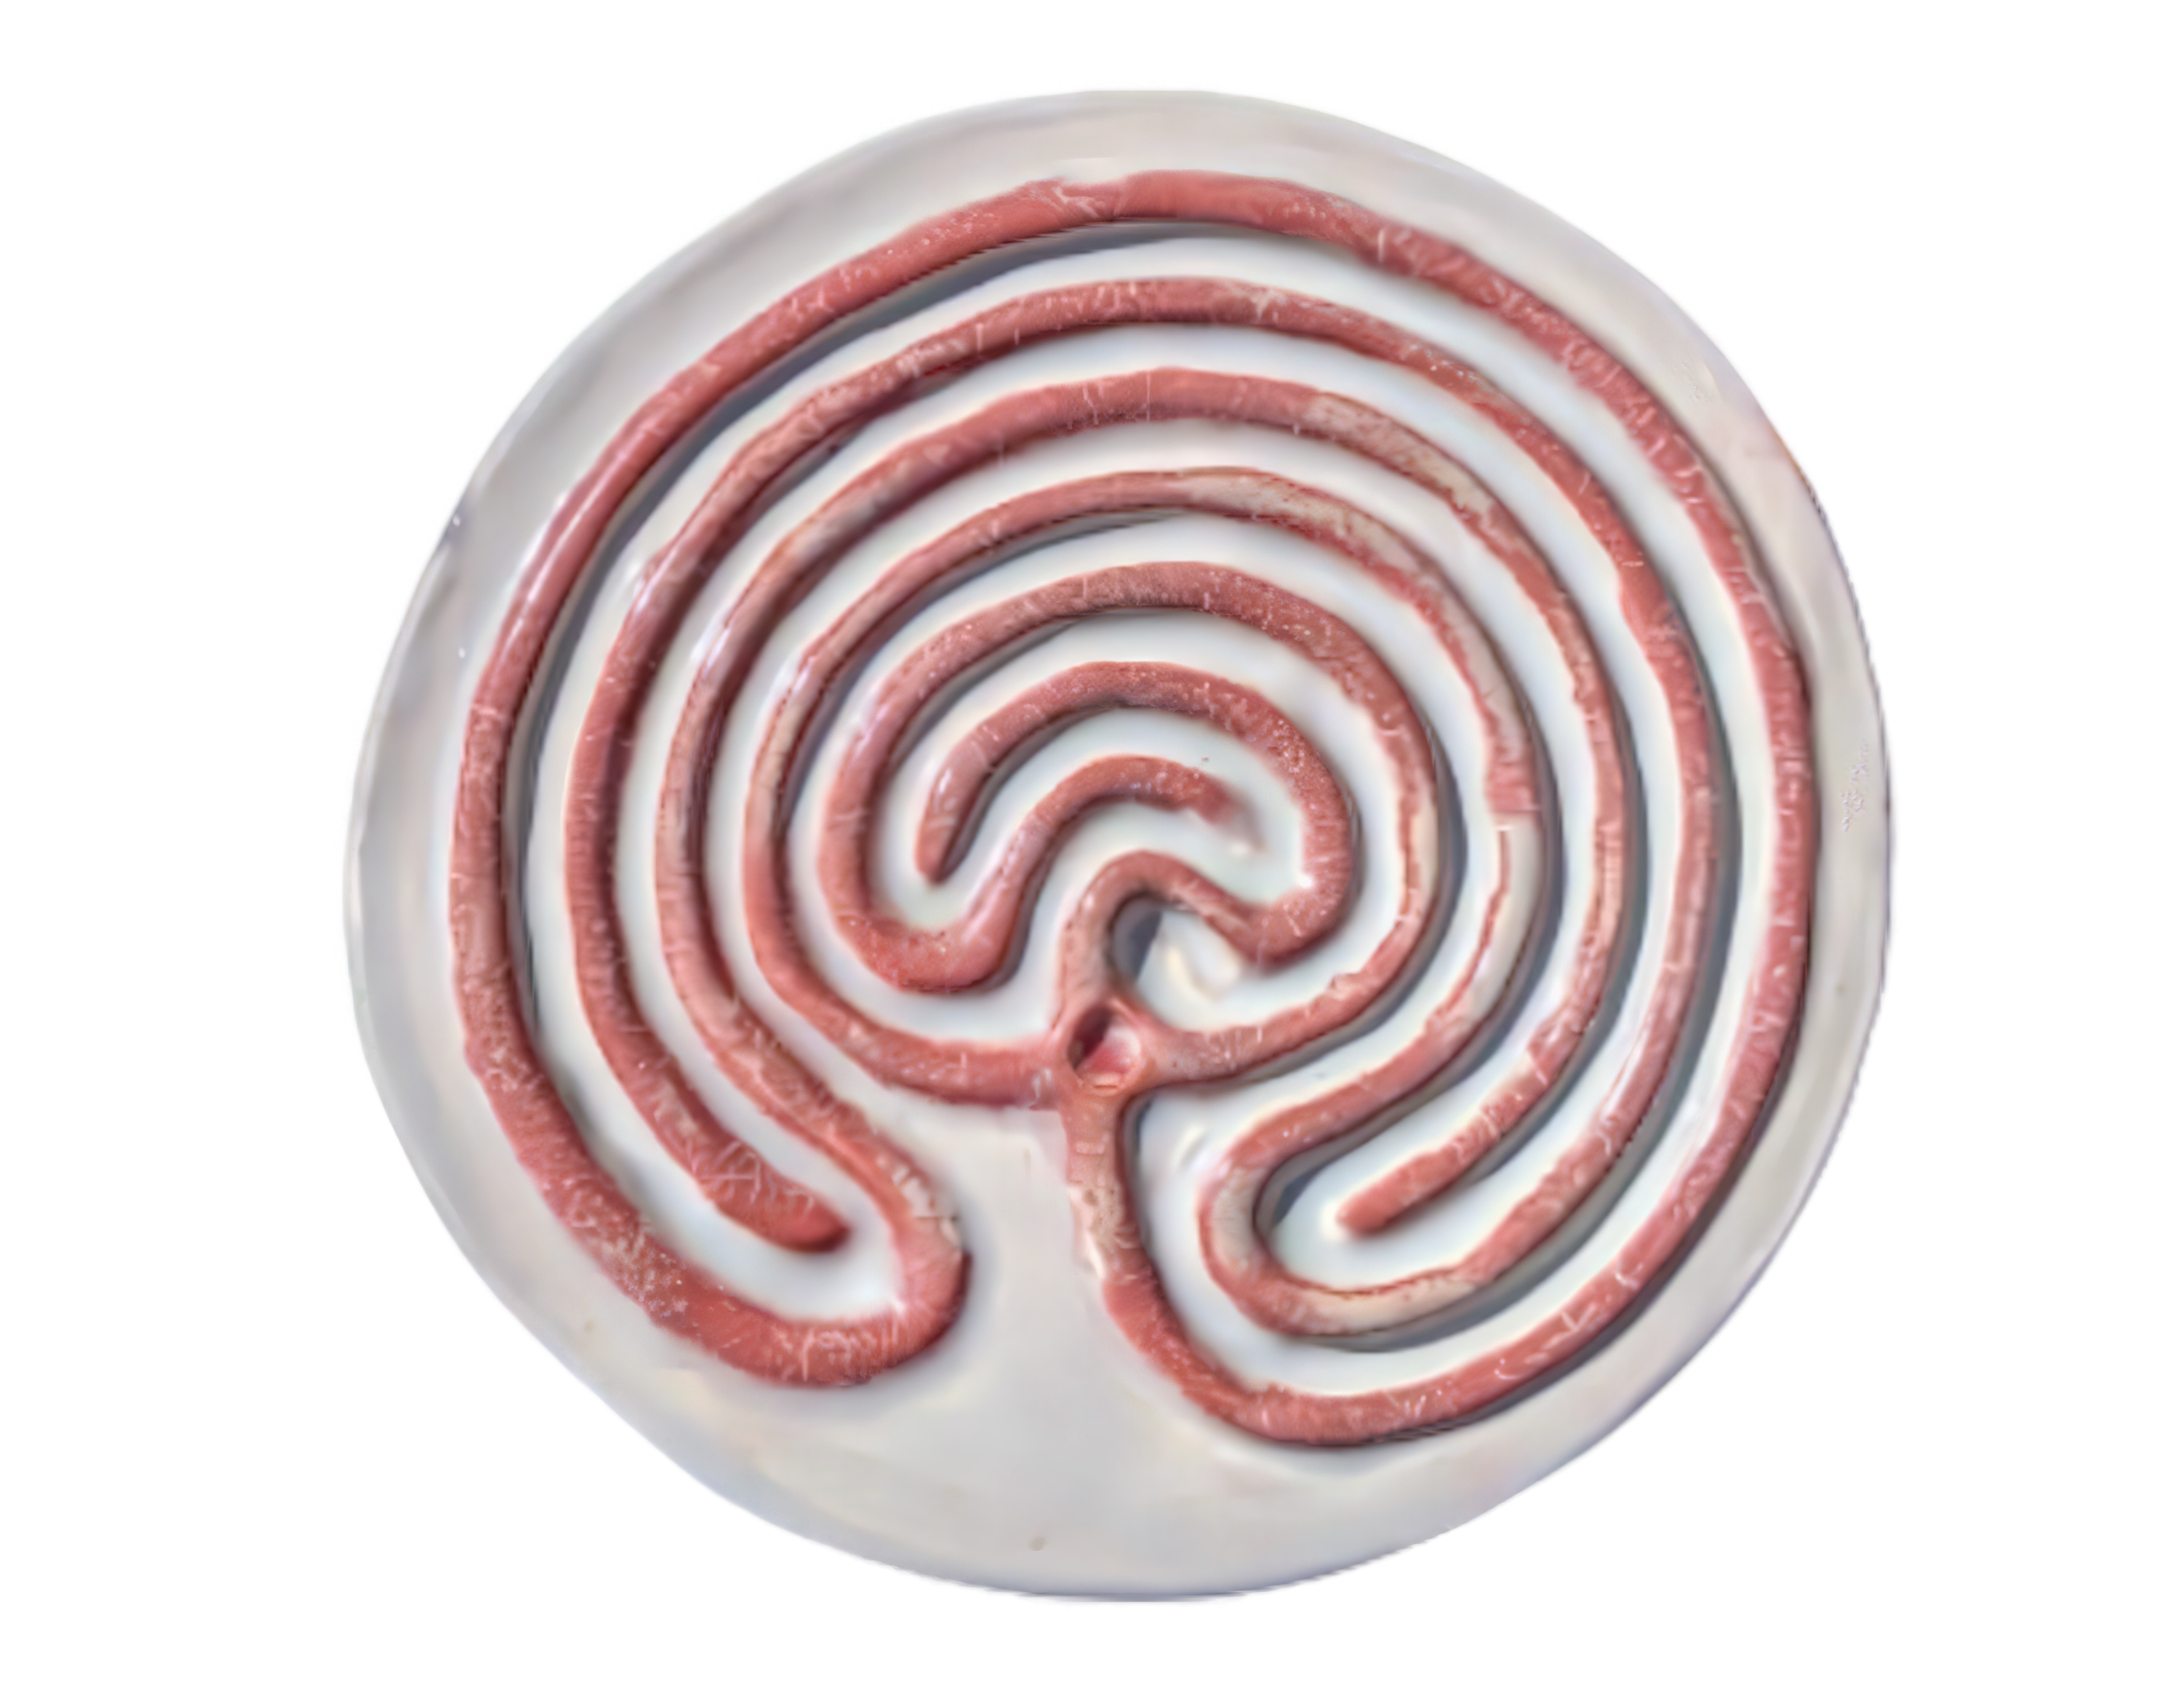
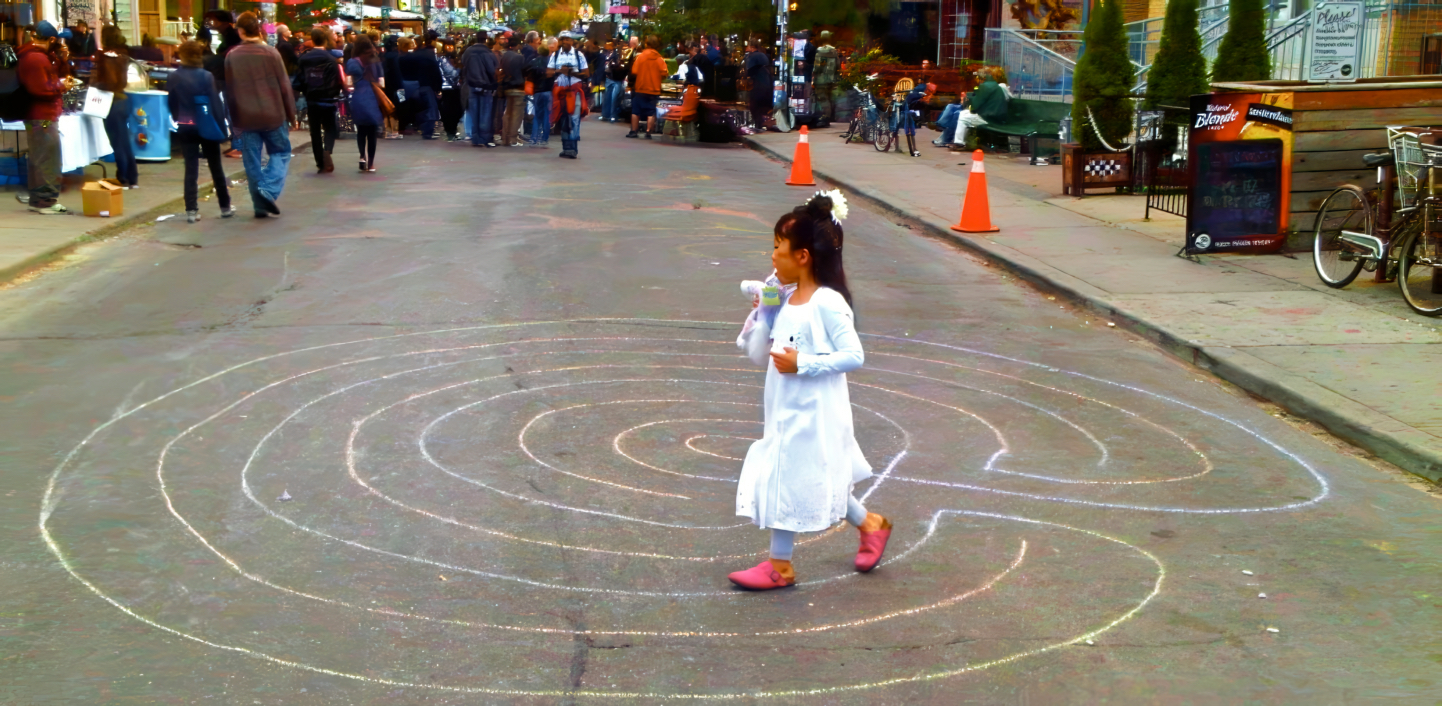
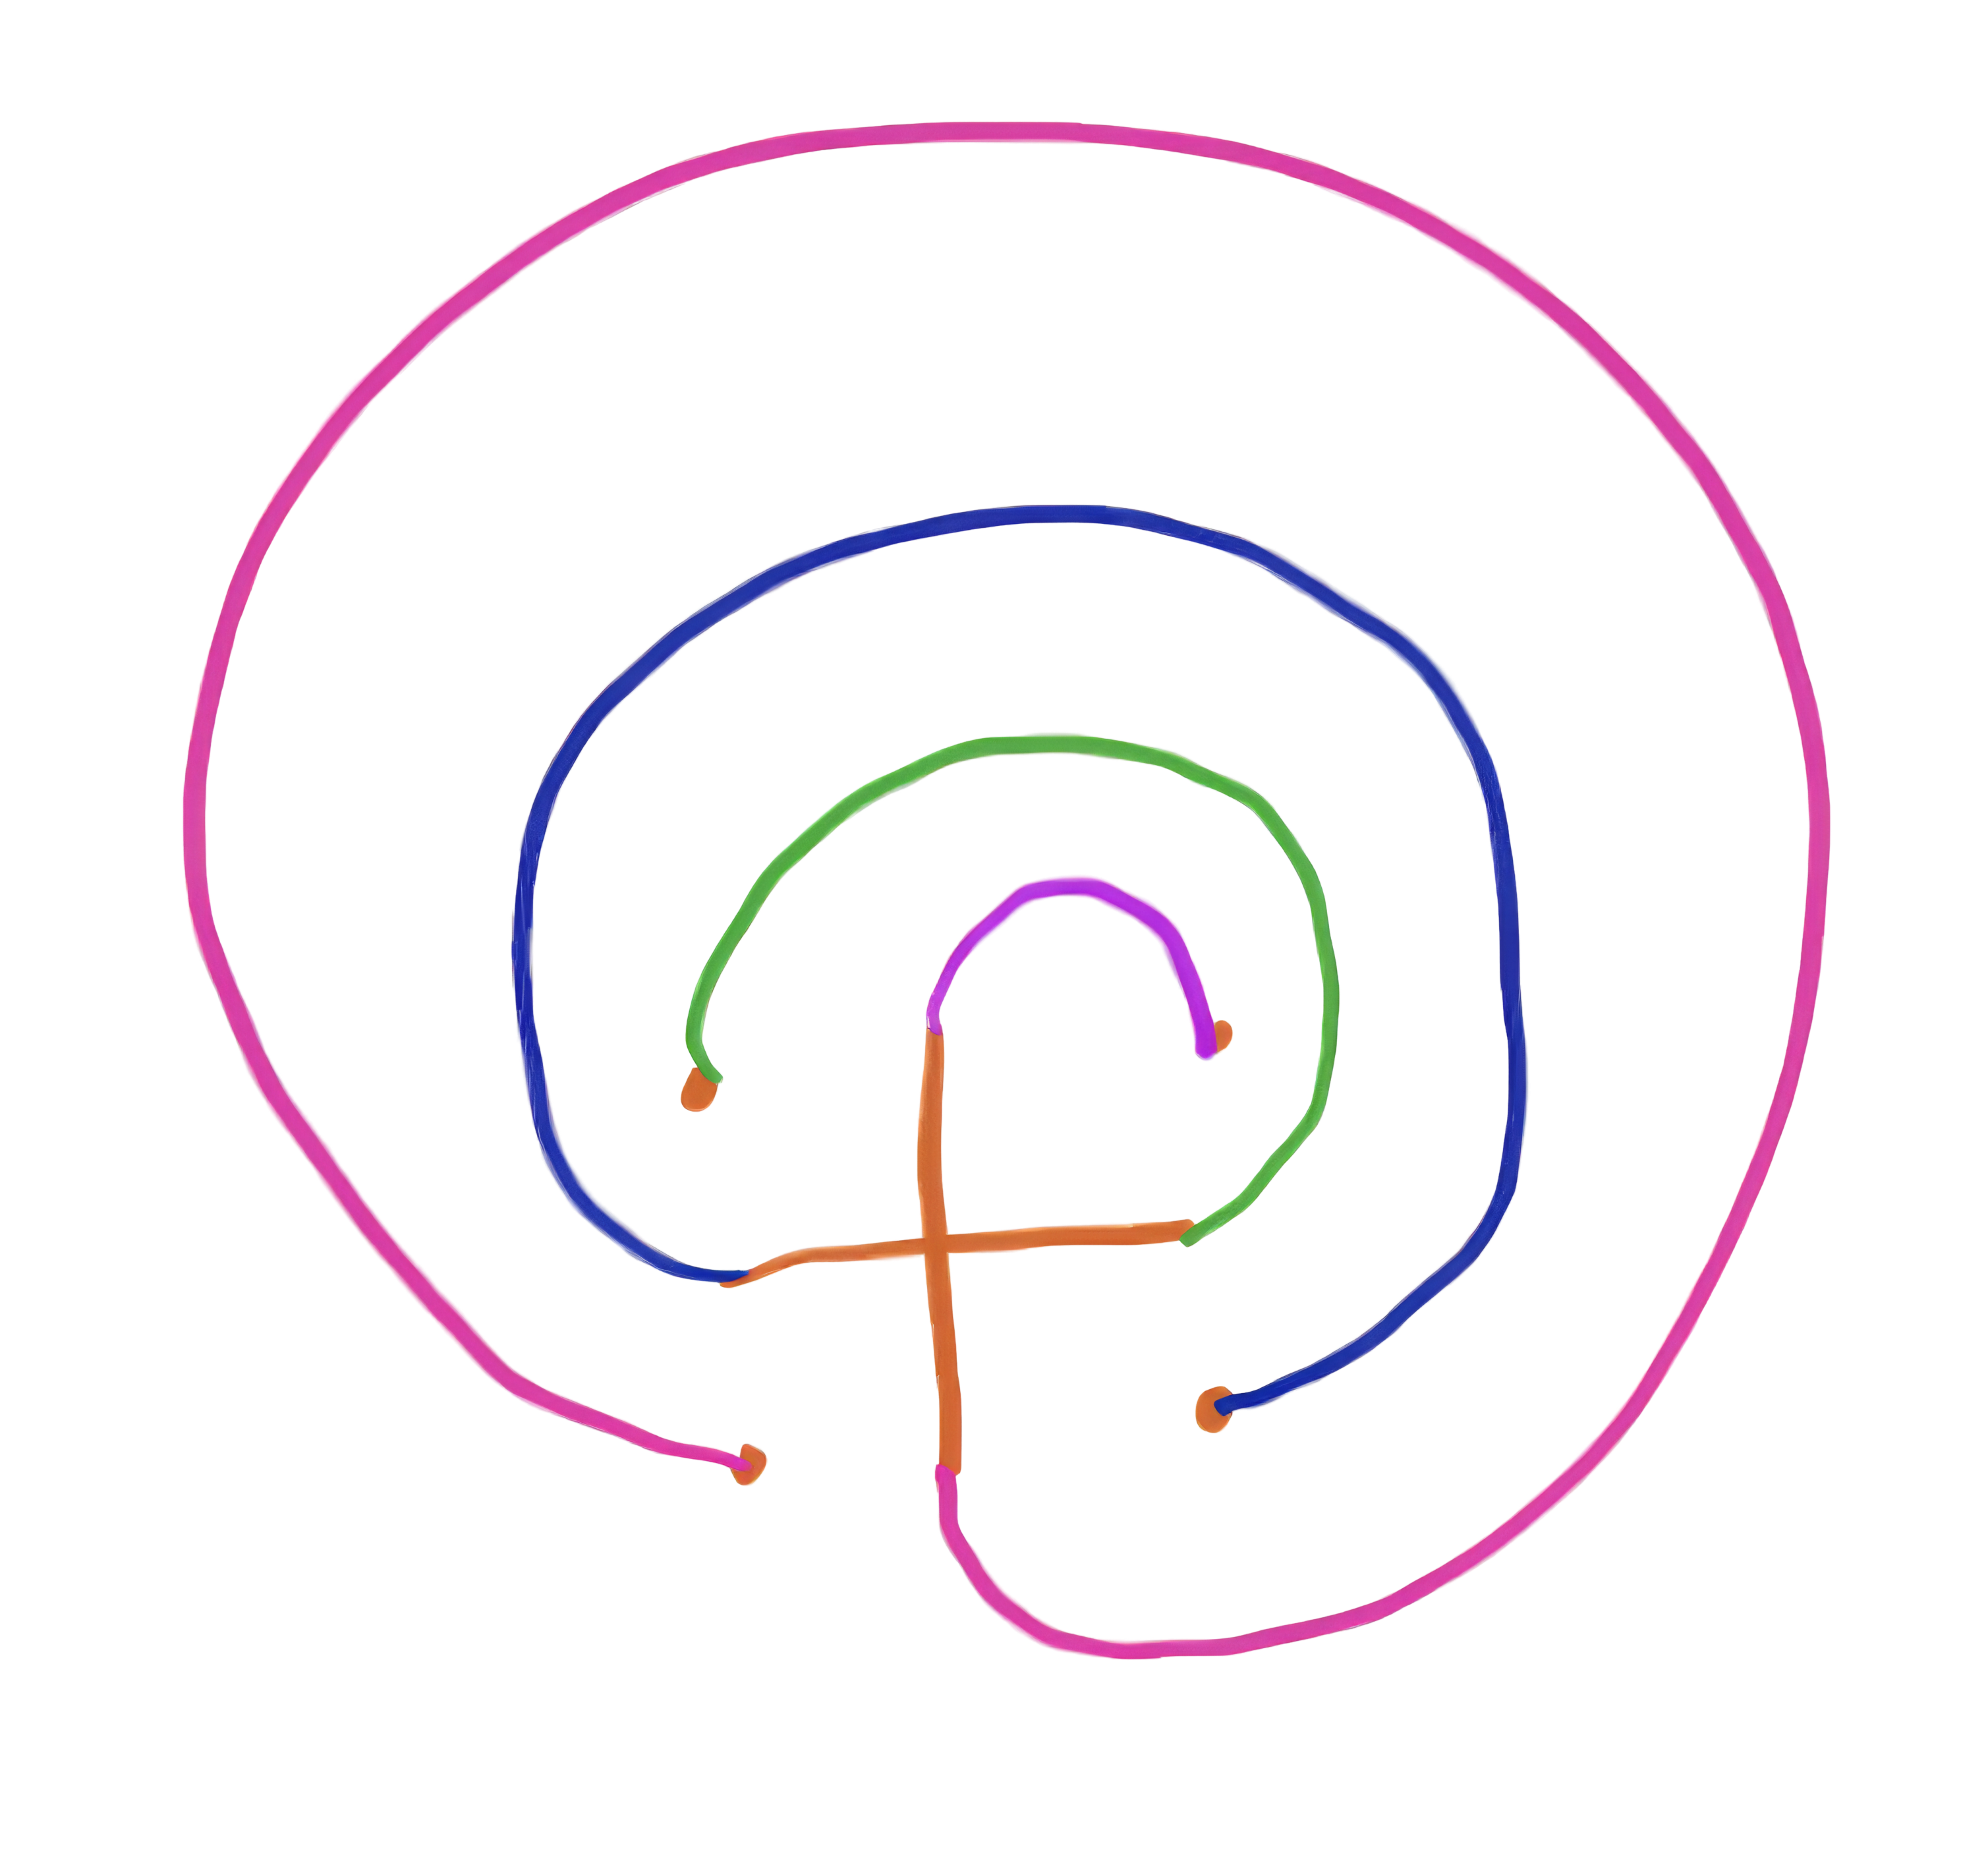
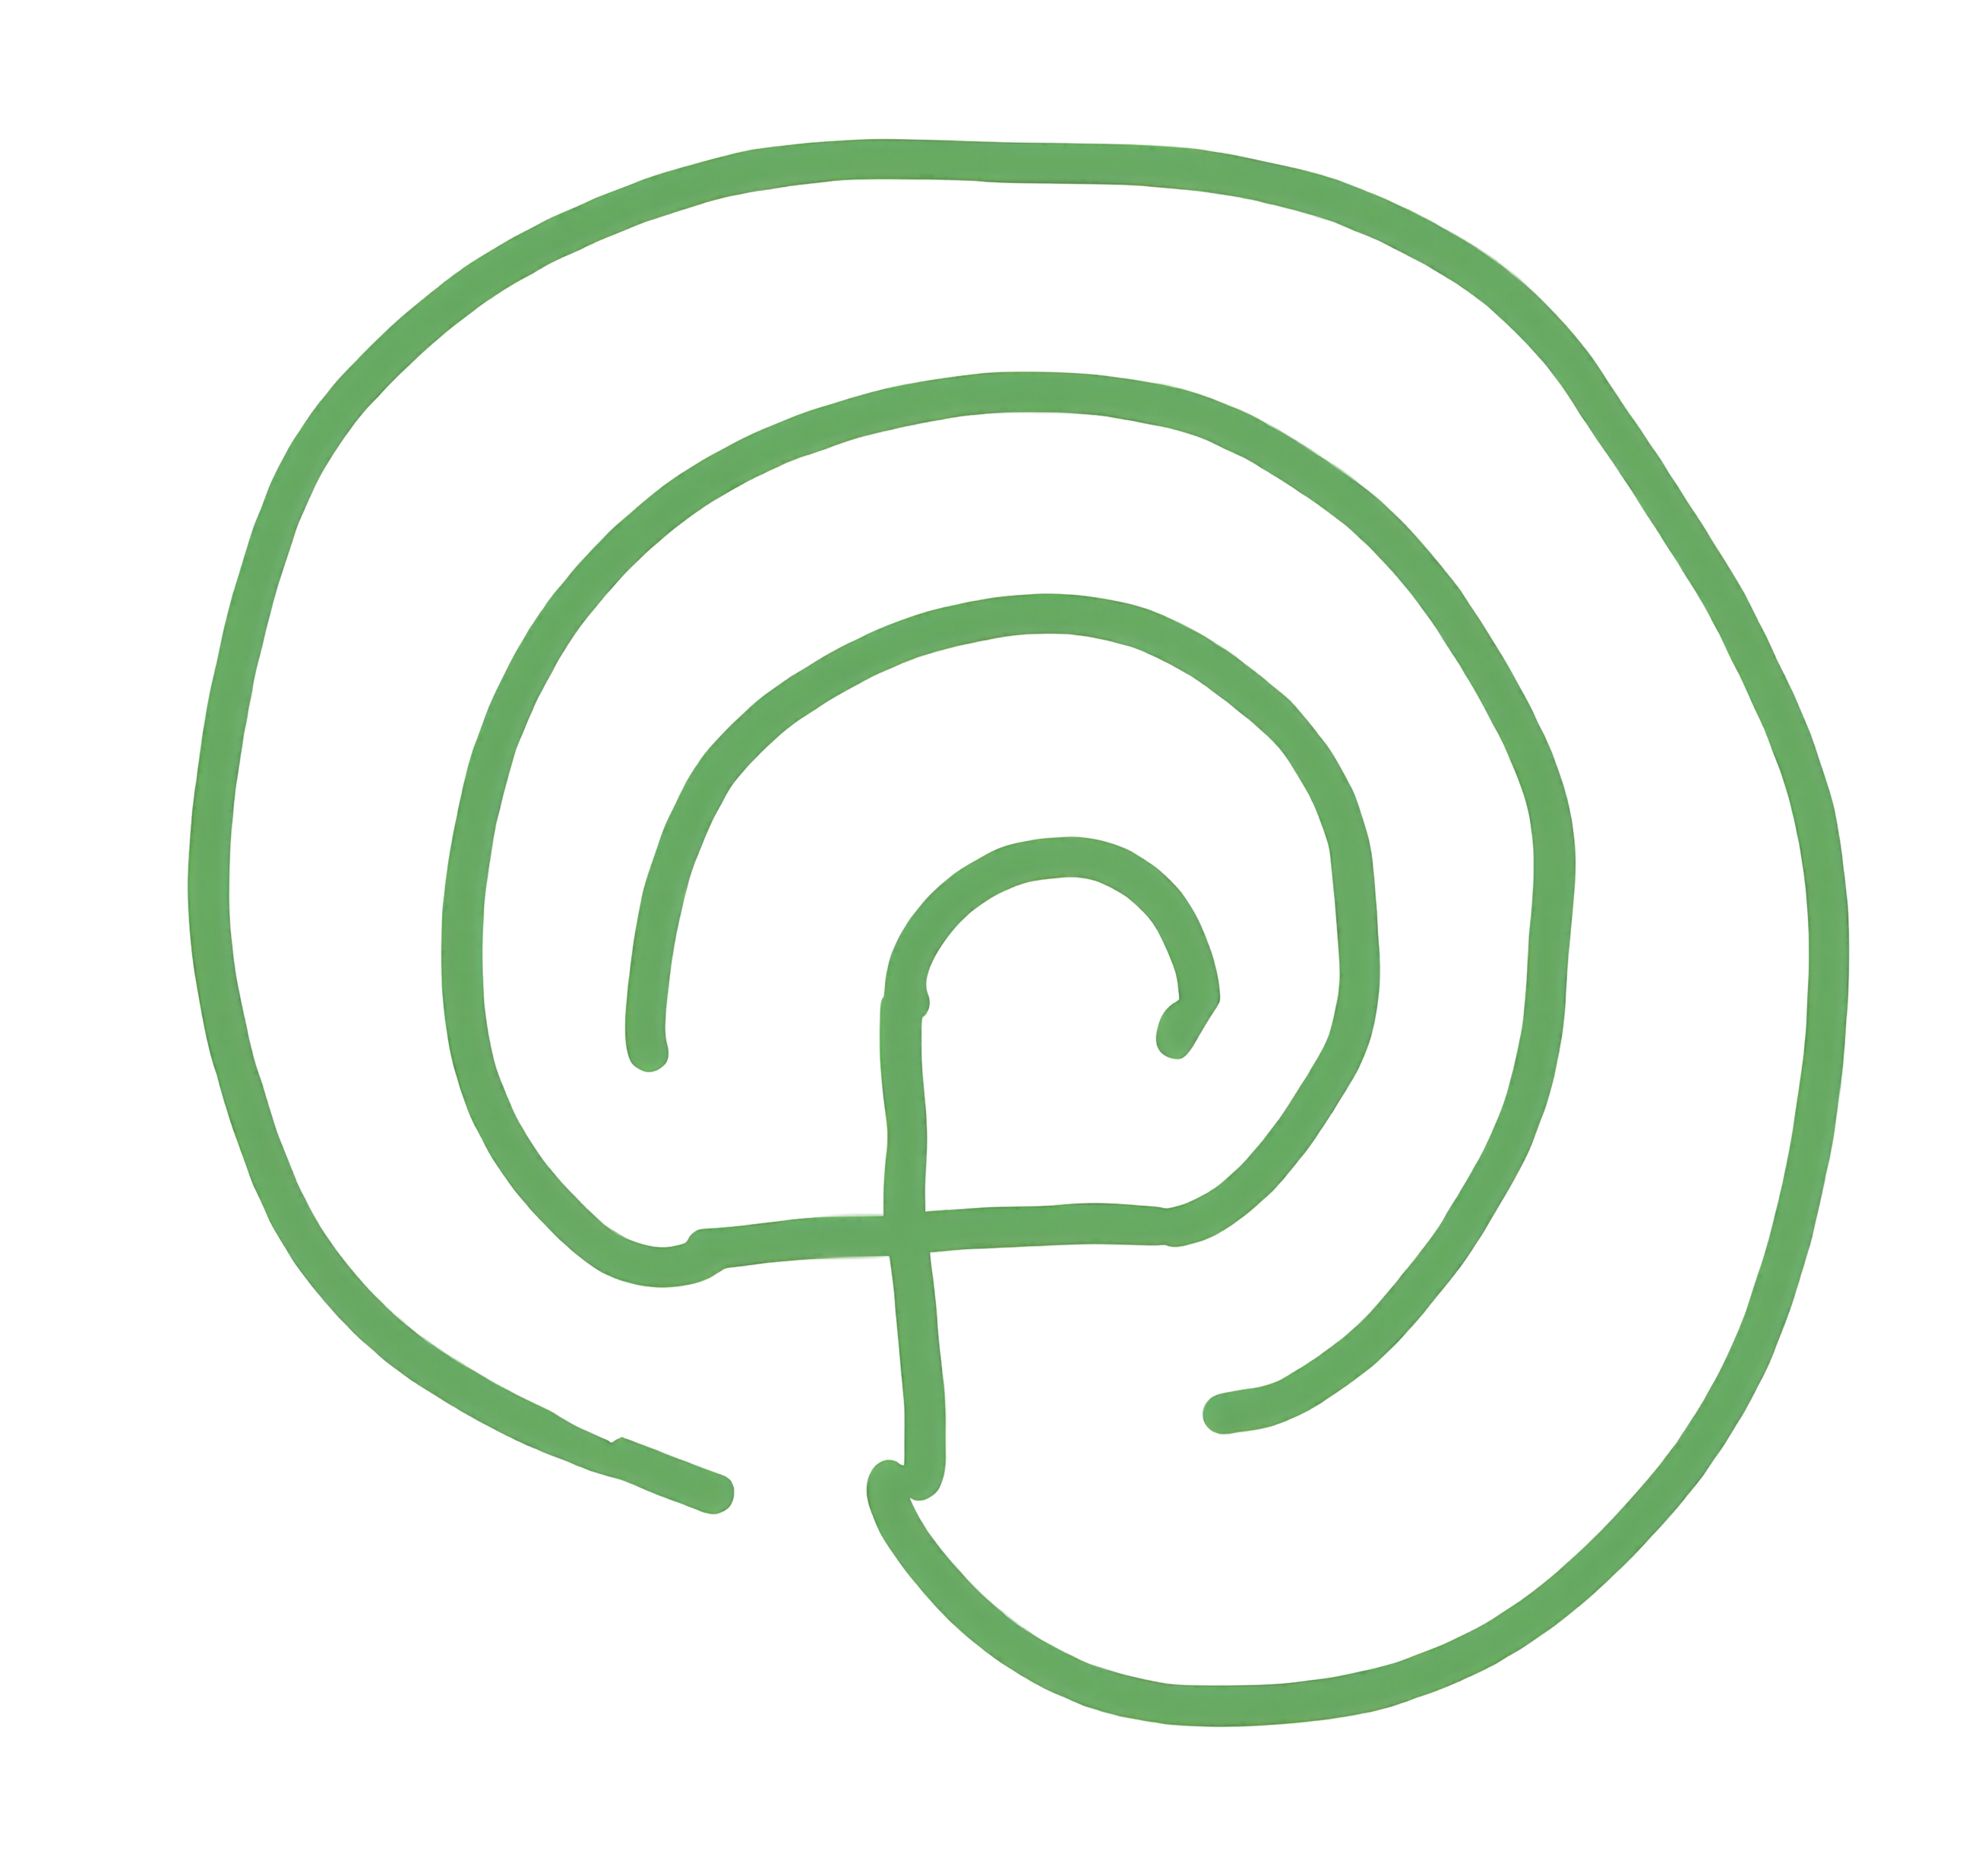
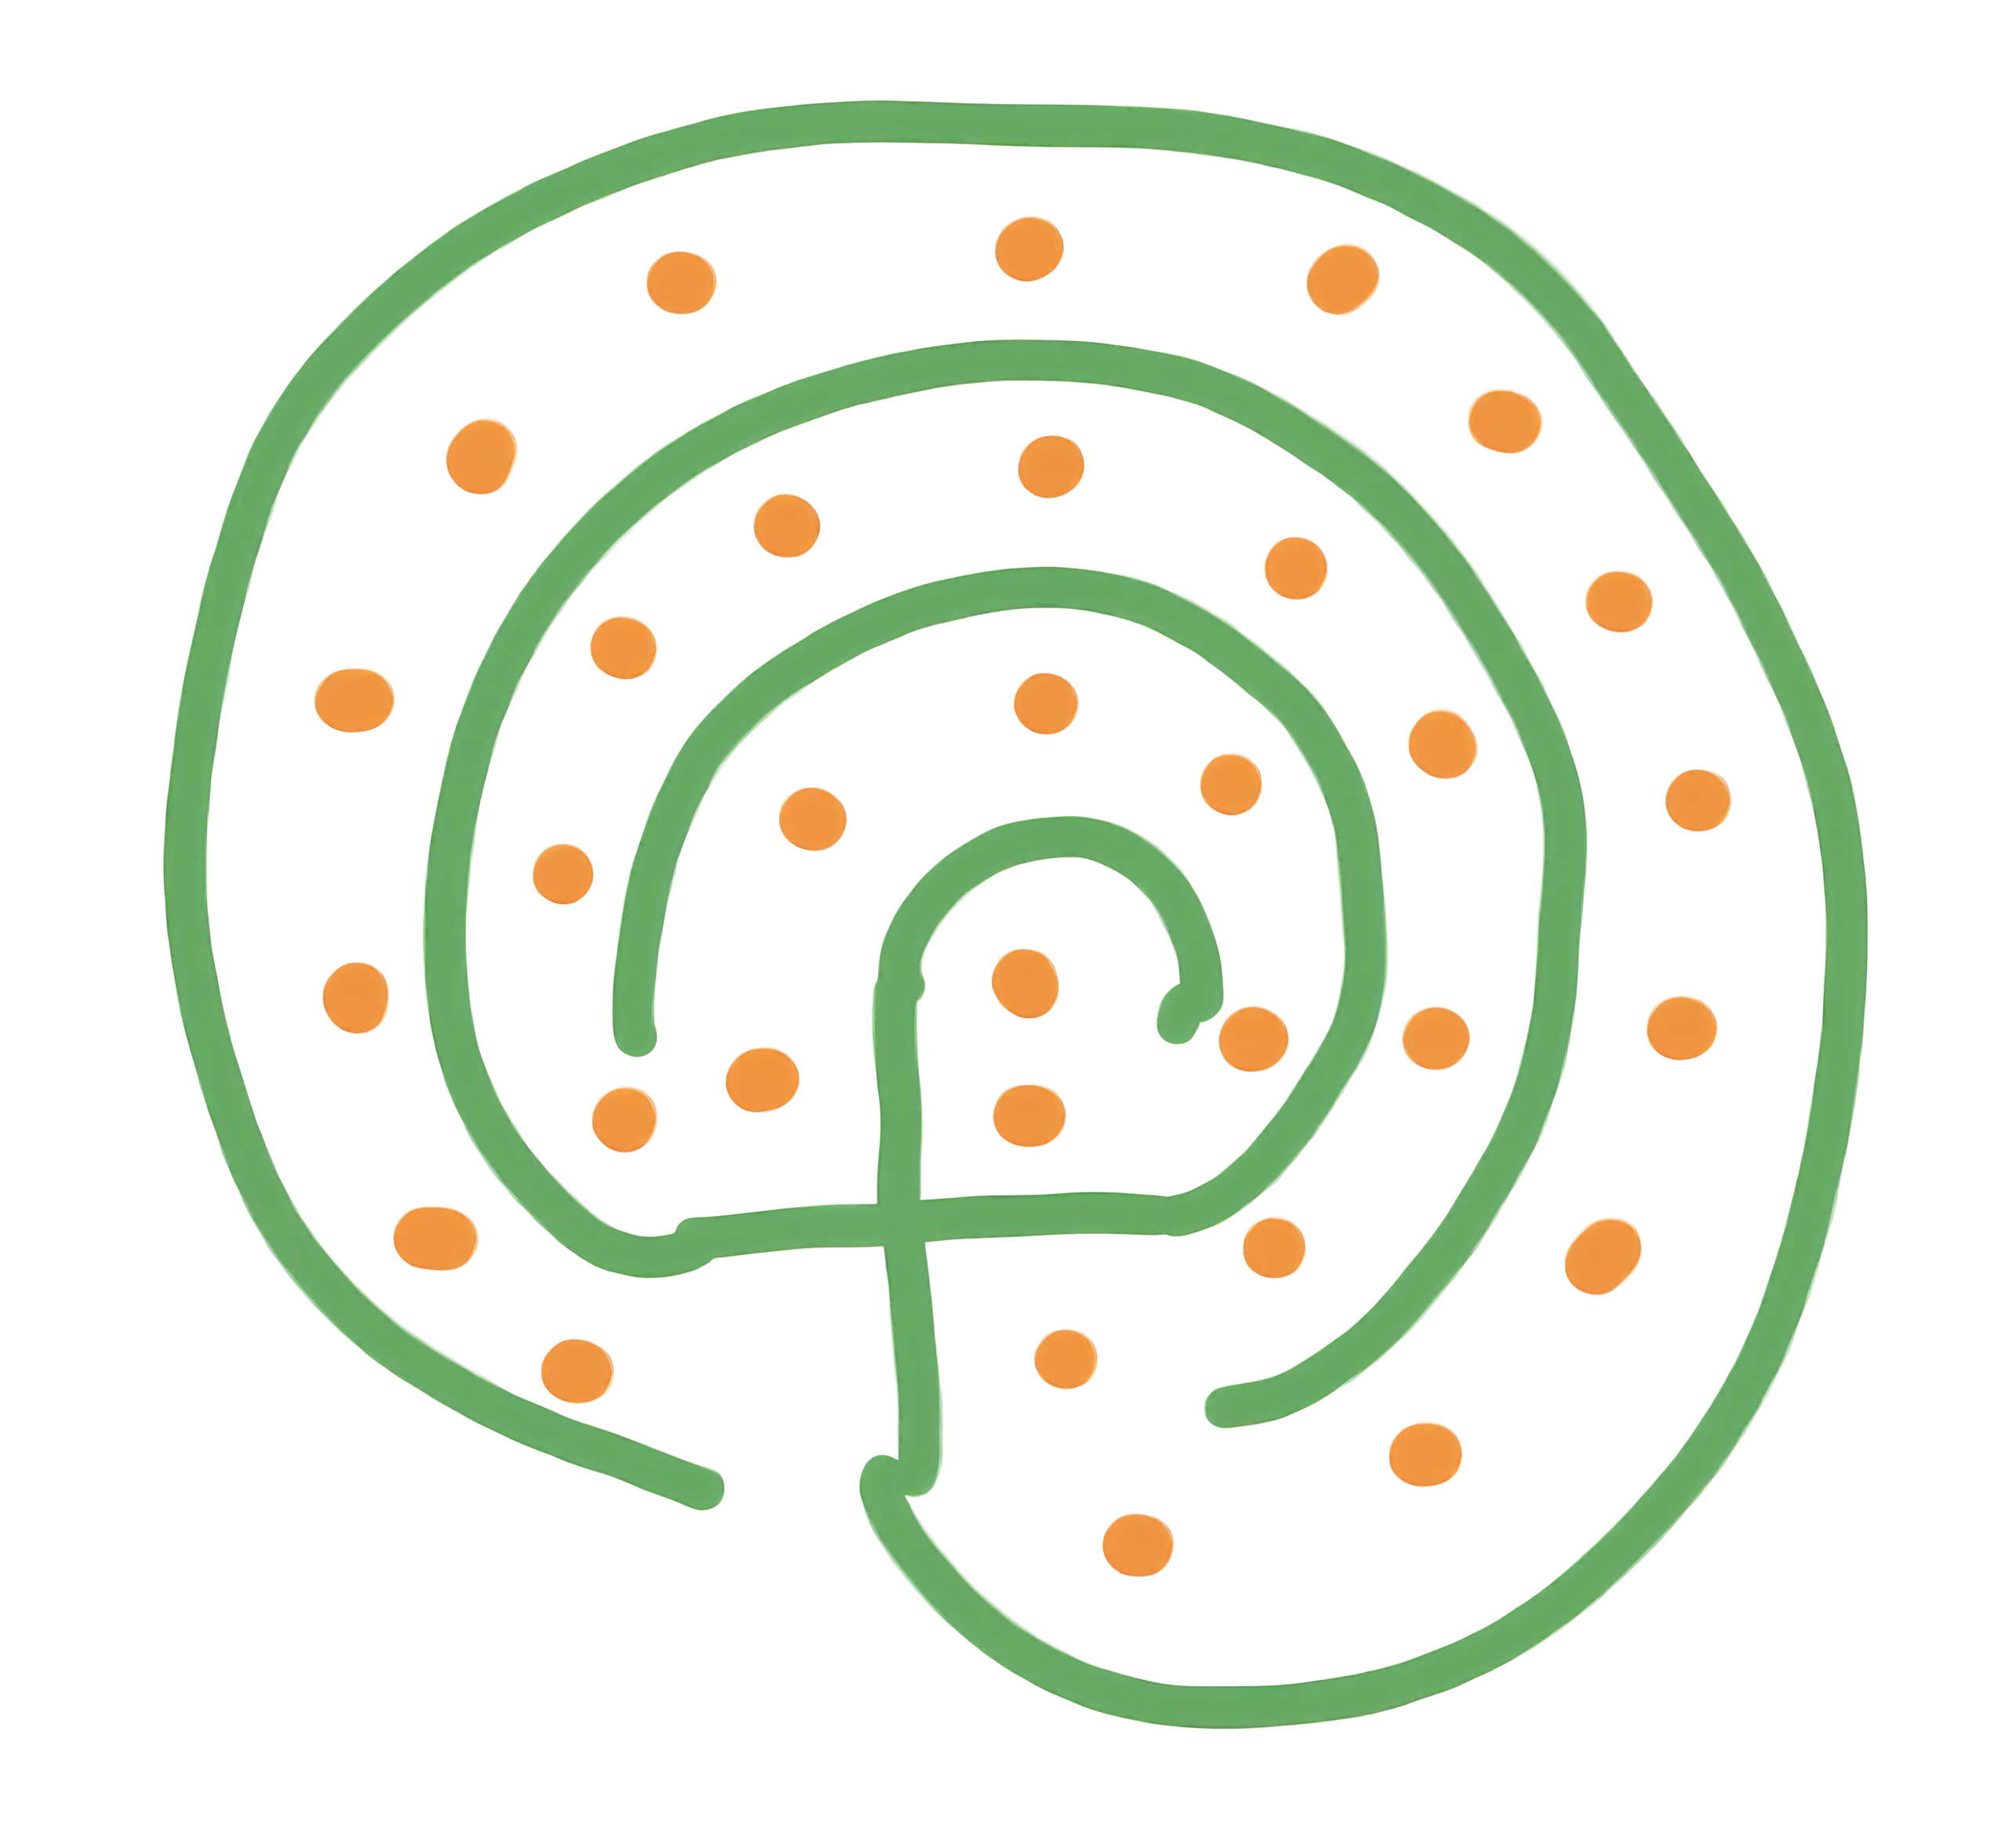
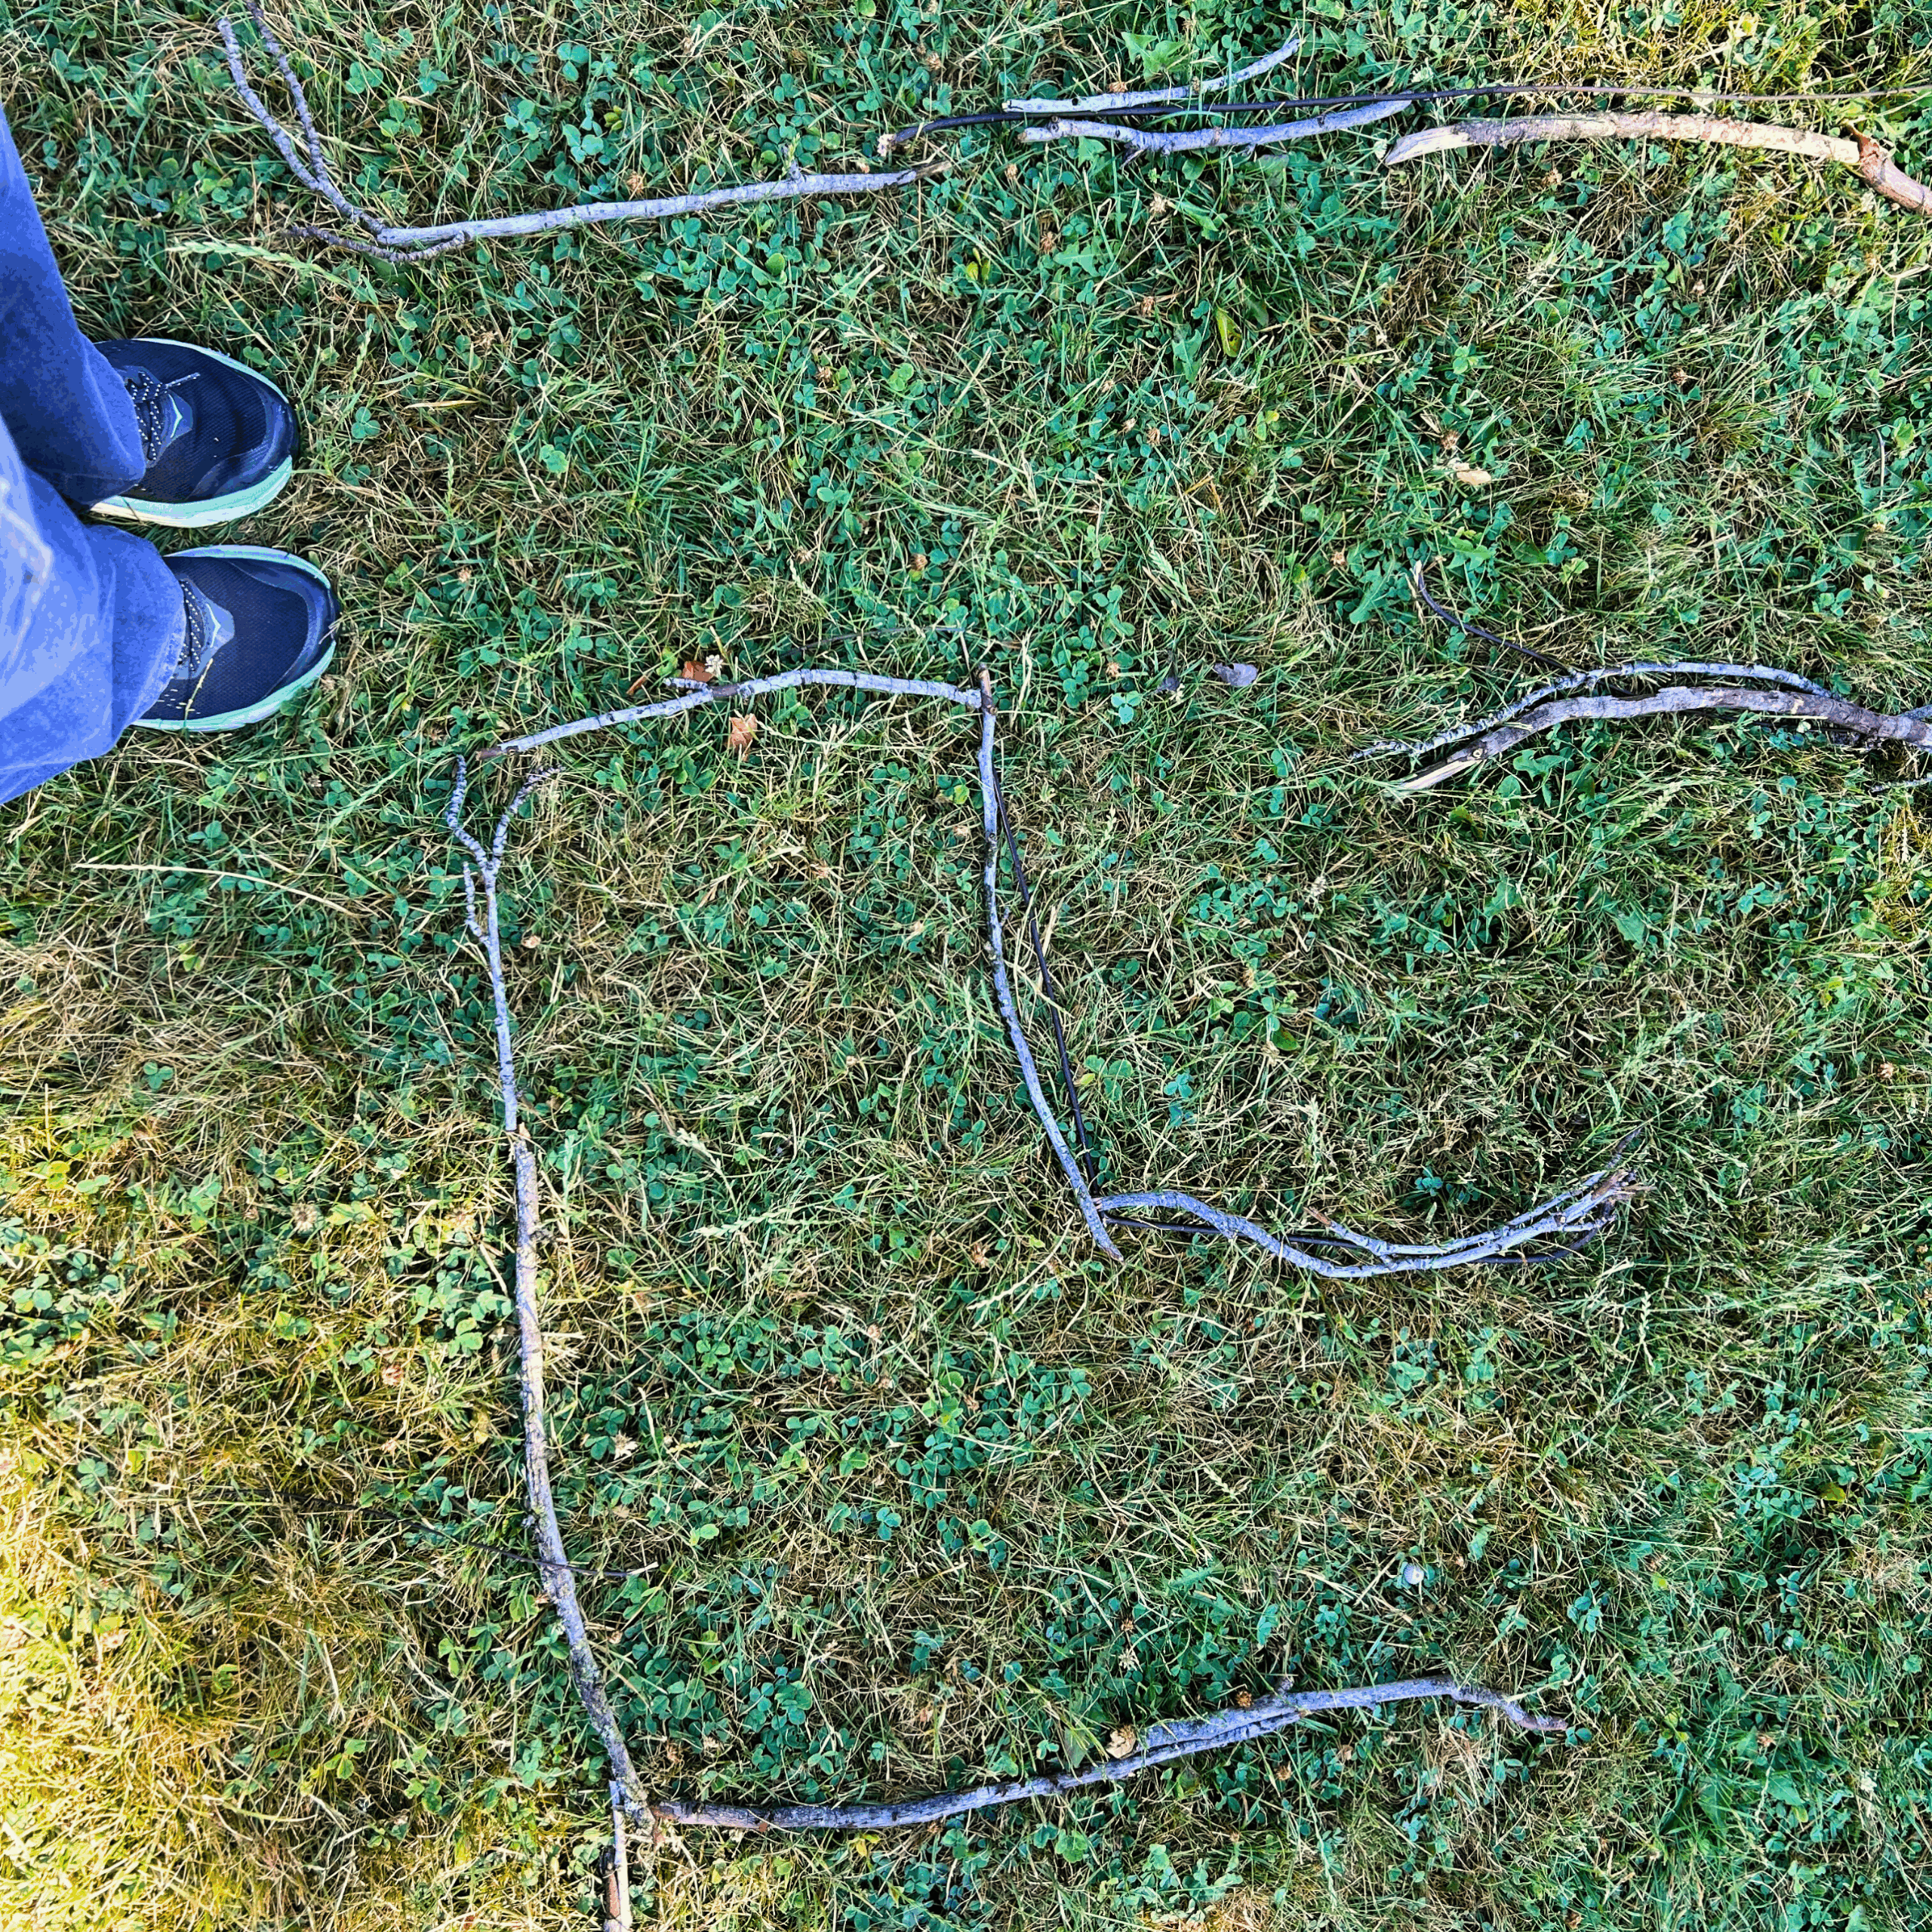
    Drawing mazes is a relaxing way to express that feeling of frustration while also creating a path out of it. 

    (Thank you to artist Shawn Bowman for sharing this project with us!)

  • STEP 1 OF 16

    Let’s start by grabbing some supplies. You will need:

    Paper

    A pencil

    An eraser

    A pen

  • STEP 2 OF 16

    In pencil, lightly draw a path using two parallel lines. You can draw your path in any shape you want.


  • STEP 3 OF 16

    To add new paths, use your eraser to make gaps in the lines you just drew.

    Just like life, a fun maze has obstacles, shortcuts, and dead ends. Getting lost is part of the journey. And if we don’t give up, we can always find a solution!

    Once you’ve added your new paths, you can decide what you want them to be. In our example, we created a shortcut (red path) and a dead-end (green path).


  • STEP 4 OF 16

    You can also add treasures for your friends to collect!

    Hidden treasures are also part of life, and can show up when we least expect them. Sometimes they appear in our most lost and lonely times.


  • STEP 5 OF 16

    When you’re finished with your maze design, it’s time to trace all of your lines in pen.

    Once all your lines are traced, erase your pencil lines and your maze is complete!

  • STEP 6 OF 16

    Just like tackling a problem, we draw mazes in small steps. In the end, something that looks super complicated isn’t so hard to solve after all.

    For more maze inspiration, have a look at this video:


  • STEP 7 OF 16

    Labyrinths are a special kind of maze. They have a single winding path that leads from the outside to the center and then back again.

    For many years, people have walked labyrinths as a way to think deeply about a single idea, or to relax a busy mind.

    Labyrinths can be created outside using rocks or sidewalk chalk, drawn on a piece of paper, or carved in clay that you can trace with your finger.


  • STEP 8 OF 16

    Here’s how to draw a labryinth:

    First, draw a plus sign on your paper.

    Next, make four dots in each section of your plus sign.


  • STEP 9 OF 16

    Now draw an arch from the top of your plus sign to the dot in the right corner.


  • STEP 10 OF 16

    Draw another arch, like a big rainbow, from the dot in the left corner over to the right side of your plus sign.


  • STEP 11 OF 16

    Next, draw an arch from the left arm of your plus sign all the way over to the dot in the bottom right corner.


  • STEP 12 OF 16

    For your last arch, draw a line from the bottom left dot over the top of everything to the very bottom of your plus sign.


  • STEP 13 OF 16

    After you have drawn your labyrinth, you can trace between the lines with your finger, taking slow, calming breaths as you move through the path.

    Remember to take your time. There’s no rush when it comes to creativity.


  • STEP 14 OF 16

    Some people like to start their day with a positive thought or idea that they want to focus on, like: ‘Today I will be kind to myself.”

    After you’ve chosen your focus for the day, you can think about it or even repeat the words to yourself as you move along your labryinth path.


  • STEP 15 OF 16

    Would you like to try out mazes drawn by other artists? In 2020, Matthew Haussler invited 18 maze designers to collaborate on a book, which you can download here for free!

    Also, if you like mazes, you might like to Create An Obstacle Hallway!

    Watch the video below:

  • STEP 16 OF 16

    Mazes are meant to be shared and can also be a gift to a friend who might be having a hard day.

    To share your maze with the OK You community, just click below!