


To create your own poetry kit, you will need:
Old magazines and junk mail that can be cut up
Scissors
Tape — either masking or Scotch tape will work
A container for each student— like a jar or a tin—for holding their words
(optional) Magnetic tape

To create your own poetry kit, you will need:
Old magazines and junk mail that can be cut up
Scissors
Tape — either masking or Scotch tape will work
A container for each student— like a jar or a tin—for holding their words
(optional) Magnetic tape
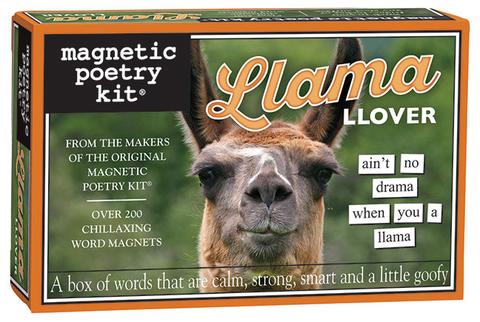
You’ve probably seen magnetic poetry kits like the one over there on the right. In this project you’ll get to create your own poetry kit and display daily messages, affirmations, inspiration, or just silliness. This practice is just one more way to stay connected to your wise and creative “OK” self.
You can display your words just about anywhere, even inside your OK Kit. You can also try Project 2: Build Your Own Art Studio, which includes a bulletin board for displaying your messages.
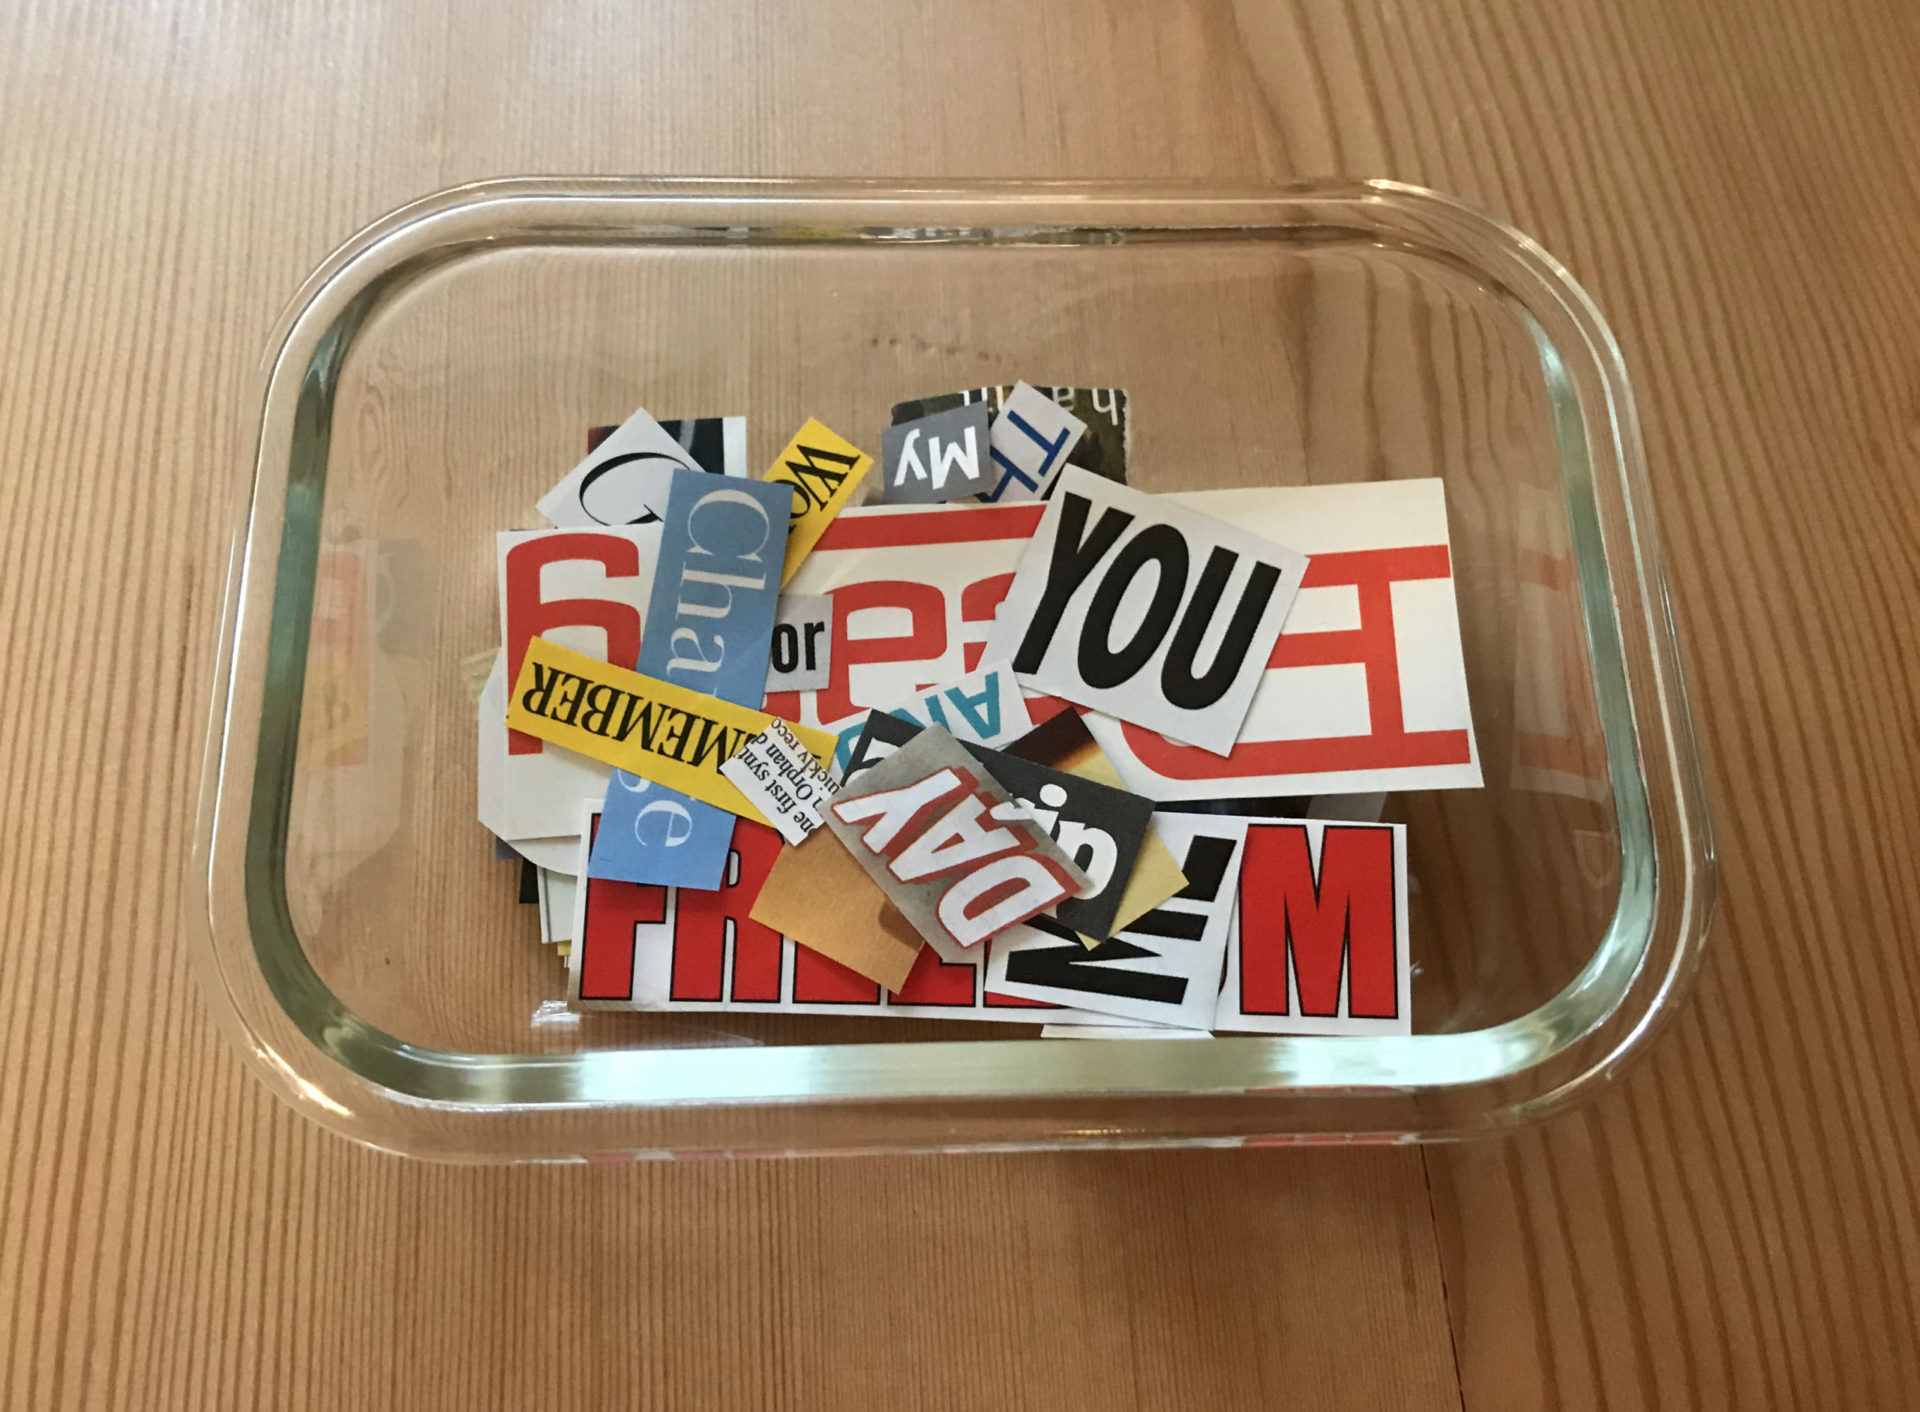
Search through your magazines and junk mail, cutting out any words that you like. Later you will be sticking tape on the backs of your words, so make sure your words aren’t too tiny.
In addition to words you like, you will need some ordinary words like THE, AND, TO, IS, ARE, YOU, etc.
Keep cutting out words until you have a good pile of at least 50. You can always add more later, but this will give you a good start.

Spread your words out on a surface. (If you did Project 2, you can spread the words out on your “chair desk”)
The best way to begin is to just begin! Grab a word and go from there. Don’t think too hard about creating a sentence or poem, or even making sense — the surprise is half the fun, and sometimes ridiculous word combinations are the very best kind.


Next, cut off small pieces of tape — about an inch long. The pieces should be just long enough to roll into little tube. If you use too much tape, your tubes will be too large and might show when you stick your words to the wall.
Stick one tape tube onto the back of each word you would like to display.
Or, if you’re using magnetic tape, just apply the magnet backing to each word. You might have to do a little trimming if your magnet is wider than the words.

You can display your words just about anywhere — on your refrigerator, desk, bedroom wall, inside your OK Kit, on your “bulletin board” (the back of your chair desk if you did Project 2)….
You can also experiment with other surfaces like a piece of cardboard or wood, a clipboard or a picture frame with the glass removed. So many options!

As for your extra words, you can save them in a tupperware container, tin, jar, or envelope.
Keep collecting words, and swap out your message with a new one any time you feel like it. Maybe you could come up with a new message or poem every day.
You can also challenge yourself to come up with messages that express:
1. What you’re feeling inside
2. Words of encouragement (to yourself and others)
3. Wishes or messages to the universe
4. A message to someone else, even if that person is no longer in your life (this can be especially nice if you have used our OK Kit project to create a Remembrance Box)


Want to inspire others by sharing one of your messages in our gallery? We would love that.