Open your own art museum

  • In this project, we will be taking all of those big feelings, ideas, and observations of ours and shrinking them down into tiny (but mighty) works of art — because art doesn’t need to be big to be powerful!

    Because there is so very much you can do with this project, we’ve broken it down in two parts.

    Part 1: Make some tiny art
    Part 2: Open your art museum

    Ready to go?

  • STEP 1 OF 16

    You will need:

    Paper

    (If you want…) Cardboard, popsicle sticks, or clay for making frames

    Scissors

    Little containers —like small boxes, jars, cardboard tubes (like from toilet paper) — for displaying small objects in your museum

    Whatever materials you have for making art —markers, pencils, paints, clay, collaging materials like magazines or junk mail.  (If you don’t have materials at home, try out some of our recipes for making your own!)

    Some way to hang up your art — tape, glue, nails…gum if you get desperate!

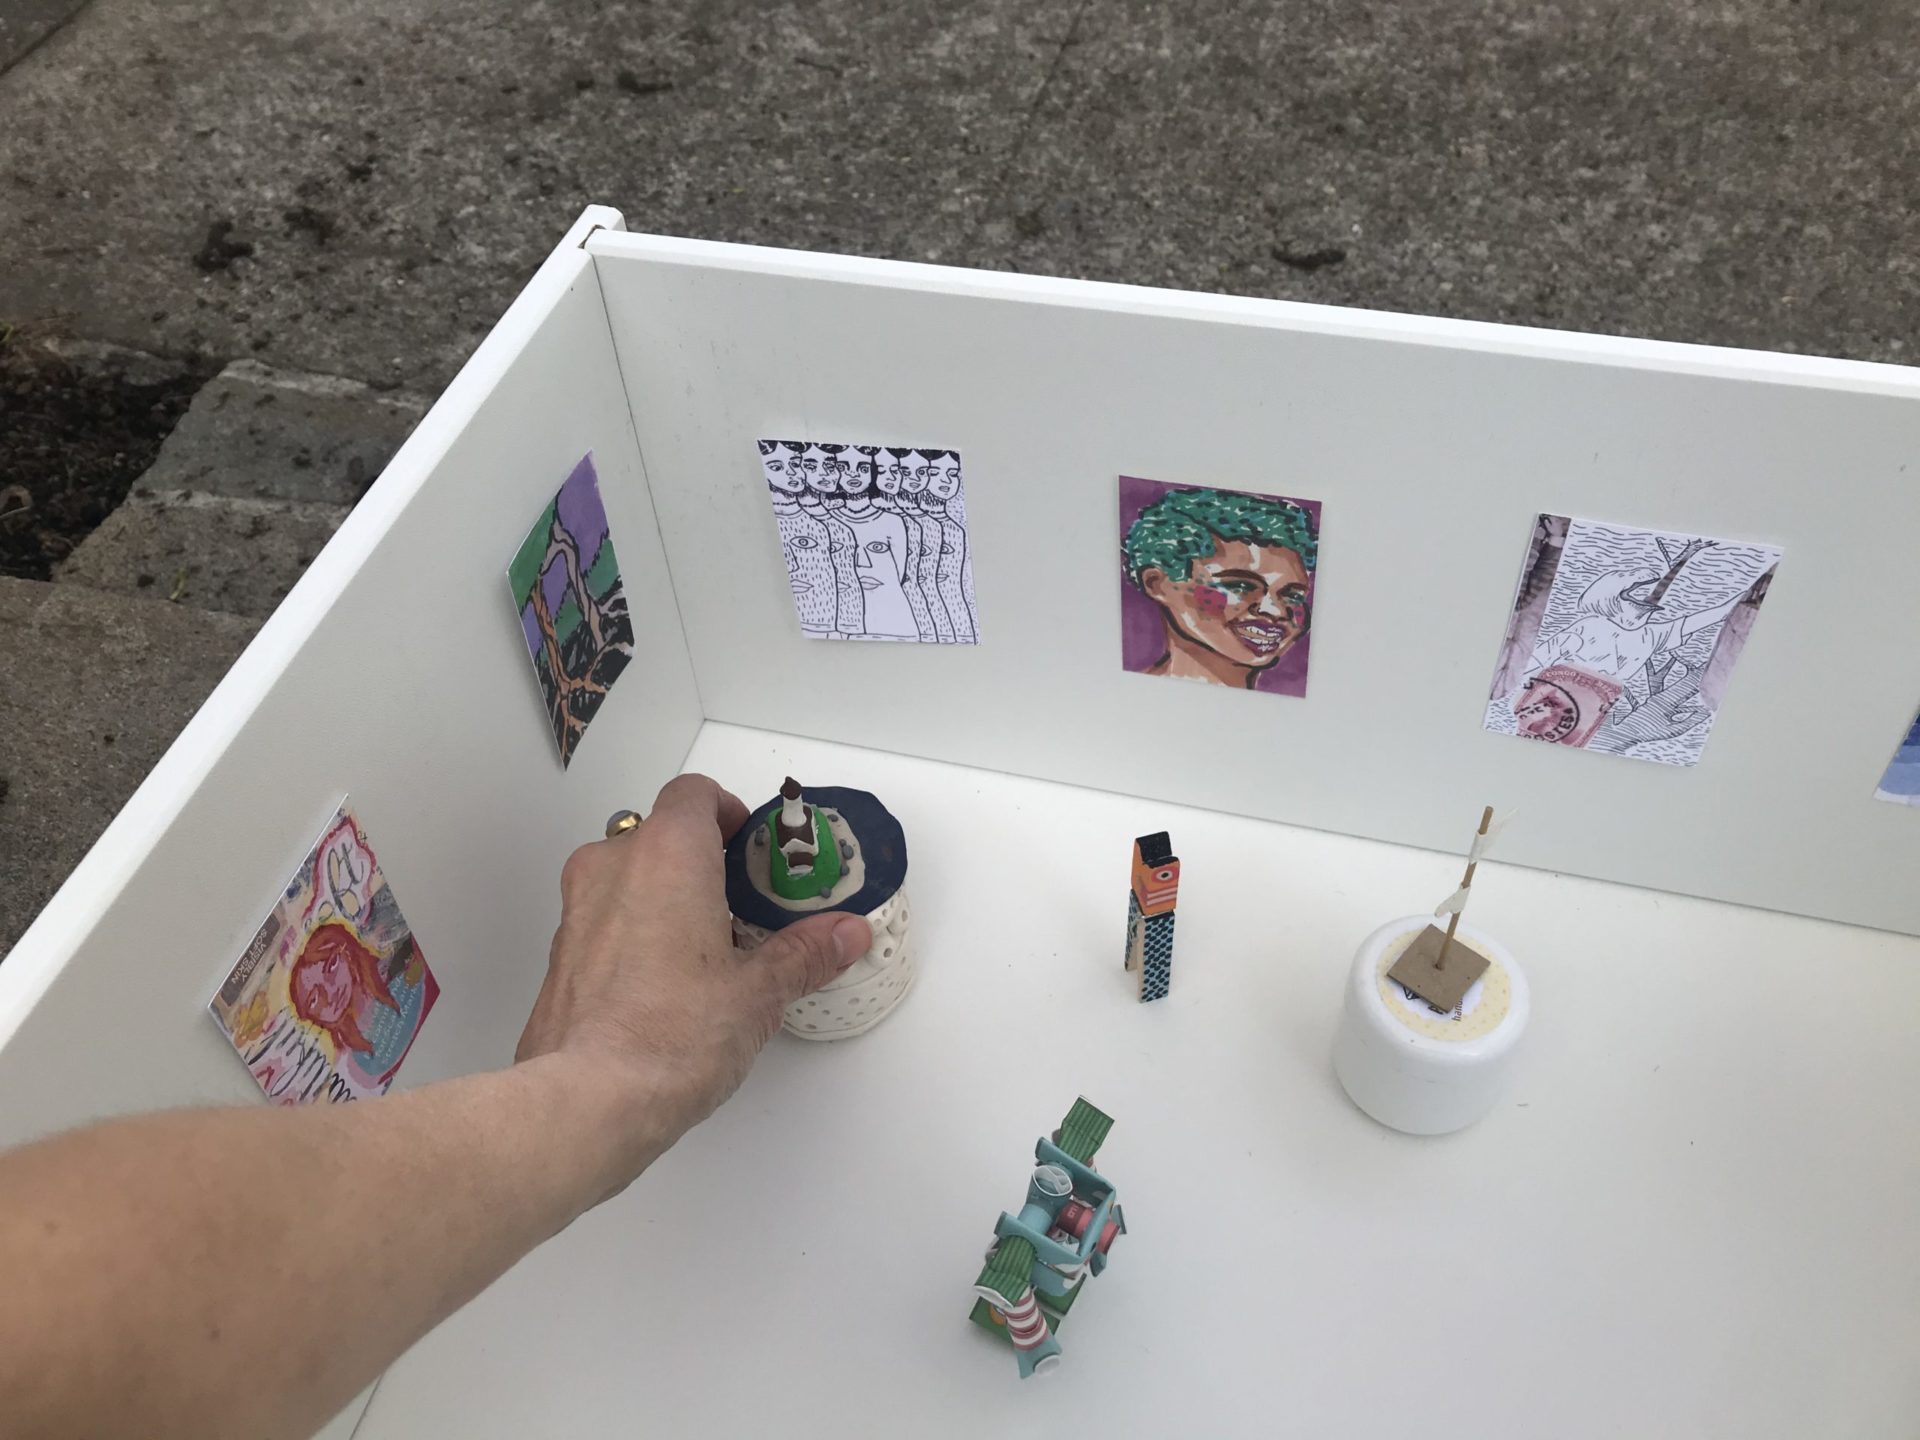
    A place for your art museum—a box, a pulled-out drawer, a fence, a sidewalk… so many options!

  • STEP 2 OF 16

    First of all, we recently learned that real art museums use dollhouses to plan out their exhibits. What?! We had no idea.

    So, we asked a curator (person who plans exhibits) at the Portland Art Museum to tell us more about it and she was kind enough to create this video for us.

  • STEP 3 OF 16

    So now the question is, what kind of art will you display in your museum?

    One good place to look for ideas is right inside you. All those feelings swirling around in you— love, sadness, worry, anger, joy—those feelings are your passion talking, and passion makes the very best art.

    For example, in 1937 a young artist named Pablo Picasso was so upset about the bombing of his home town, that he painted one of the most famous anti-war paintings of all time: Guernica. Here it is:

  • STEP 4 OF 16

    And then, just recently, Hank Willis Thomas created his own version of Guernica. (Yes, it’s totally okay to get ideas from other artists!)

    Hank cut up jerseys and stitched them together to express how contact sports like football can be like war. In his work he also talks about how athletes can be important political figures and social justice activists.

    You can learn more about his work here.

  • STEP 5 OF 16

    Other artists, like Brazilian painter Tarsila do Amaral, are inspired by the beauty of the world around them.

  • STEP 6 OF 16

    Okay, your turn. What have you been feeling lately? Are there things happening in the world or in your life that have created some strong emotions in you?

    Write your thoughts down on a piece of paper or in your journal. You can make a list like this:

    I love…
    I’m sad about…
    I’m happy about…
    I’m worried about…
    I’m angry about…
    I’m excited about…

  • STEP 7 OF 16

    You can also get your inspiration from ordinary events or objects in your life.

    For twenty years, the artist Andy Warhol ate the same thing for lunch every day — a can of tomato soup — which inspired him to make his famous soup can art.

    Is there something you do every day — something that brings you joy or comfort — that you can capture in your tiny artwork?

    (You can learn a little more about Warhol here.)

  • STEP 8 OF 16

    Okay, now that you are packed with feelings and ideas, it’s time for PART 1: Make some tiny art!

    Tiny works of art can be drawings, paintings, photographs, words, small sculptures, objects — really, just about any materials you can think of can be turned into art — even trash!

    This artist from Washed Ashore was inspired by her love of the ocean to collect trash from the beach and turn it into a sea horse sculpture.

    If this inspires you, maybe you can make a tiny work of art out of little bits of trash you find.

  • STEP 9 OF 16

    Or maybe this artwork by Corita Kent will inspire you to turn your own thoughts into art.

    Remember: art can take many forms so try experimenting with different styles and materials. You can also mix your materials together.

    Like what if you wrote a message on a photograph?

    Or cut out a picture from a magazine and drew or painted on top of it?

    Or sculpted something out of foil?

    Or made art out of twigs, leaves and other objects from nature?

    (You can see more of Corita’s work here.)

  • STEP 10 OF 16

    And remember how Hank Willis Thomas was inspired by Picasso’s Guernica? You can also visit an art museum to get ideas. Every museum in the world has a website, including the one near you.

    If you want to see some of the exhibitions at our museum, The Portland Art Museum, just click here. Below are some of the exhibits you will find there.

    Here are a few more places to explore:
    Getty Museum
    MoMA (Museum of Modern Art)
    And why not take a trip to The British Museum or Korea’s MCMA!

  • STEP 11 OF 16

    If you aren’t sure how to begin, spend some time playing around with some of the materials you’ve gathered.

    Sometimes drawing a frame can help you to imagine what might go inside. Our friend Shawn Bowman made these frames. You can print or trace them and use them if you want to.

    You can also make tiny art frames out of cardboard,  popsicle sticks, clay or foil. If you think of some other ideas, let us know!

  • STEP 12 OF 16

    After you’ve created some tiny art, it’s time for PART 2: Open your art museum!

    First, gather your supplies for displaying your artwork…

    For art you will be hanging, you’ll need something sticky like tape or glue.

    For sculptures or objects, it’s nice to have a podium to put them on. Here are some ideas (and you can find many more ideas inside the recycling bin!):

    Empty toilet paper rolls with a piece of paper or fabric taped over the top
    Little boxes like the kind that jewelry comes in
    Spice jars
    Juice glasses turned upside down
    Other small objects or containers with a flat top

  • STEP 13 OF 16

    You are now ready to set up your museum.

    Start by finding a good place. You can open your museum for people in your house to enjoy, or find a spot outside where your art can bring joy and inspiration to others.

    If your museum is going to be outside, you can use a box or pulled-out drawer set up on a chair or table, or maybe you have an old dollhouse or “Little Free Library” you can use. You can also hang your tiny art on a fence or tree.

    If your museum is going to be inside, you can set it up on a counter or shelf,  inside a drawer, cabinet or box, or even on the floor.

    [Art example #1: Zane #2: Hadley #3 Shawn Bowman #4 Kathleen #5 Leo #6 Scott McDermid]


  • STEP 14 OF 16

    As a finishing touch, try creating a poster for your museum. Here are some things you could include on your poster:

    The name of your museum

    The name of the artist whose work you are exhibiting (you!)

    When your museum is open

  • STEP 15 OF 16

    And now that you have opened your own art museum, you can add new art or change your exhibit any time you want. That’s the beauty of owning your own museum.

  • STEP 16 OF 16

    You can also be like those other museums we showed you and share your exhibit with the world! Just click here to add your photos to our gallery. We can’t wait to be inspired by your art!